Posted by Agent Kith on 21 Jan 2018 in Home Automation
Securing Your Home Assistant With LetsEncrypt SSL
Creating Your Domain Using DuckDNS
You can skip this step if you have already configured your dynamic domain. There are several dynamic DNS services, e.g. No-IP or DynDNS.
DuckDNS is a fairly new entrant and offers the least hasslefree configuration so far. We will describe how you can create your own unique hostname using the very straightforward DuckDNS service.
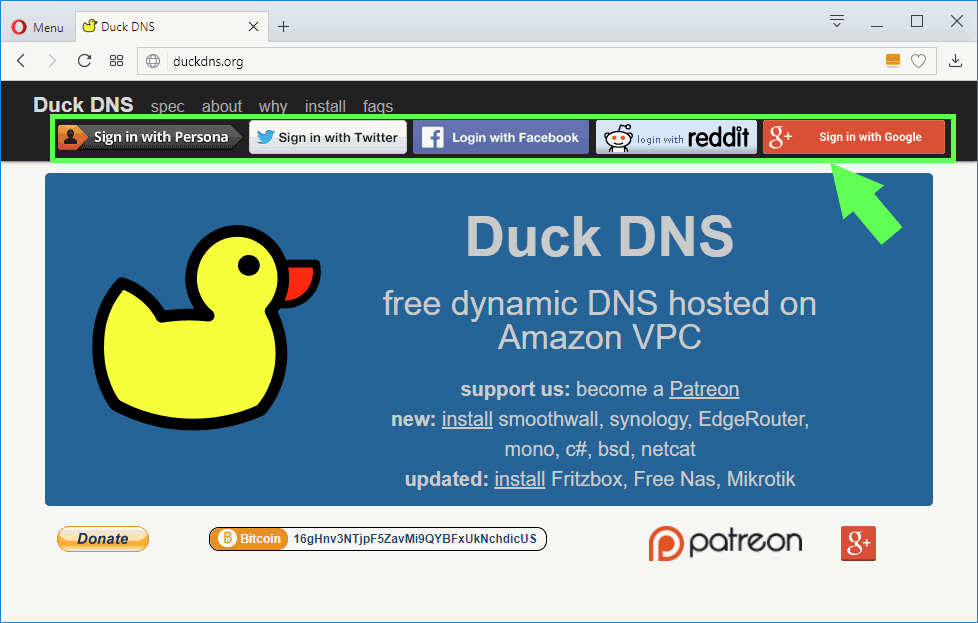
- Click on one of the login buttons to login:

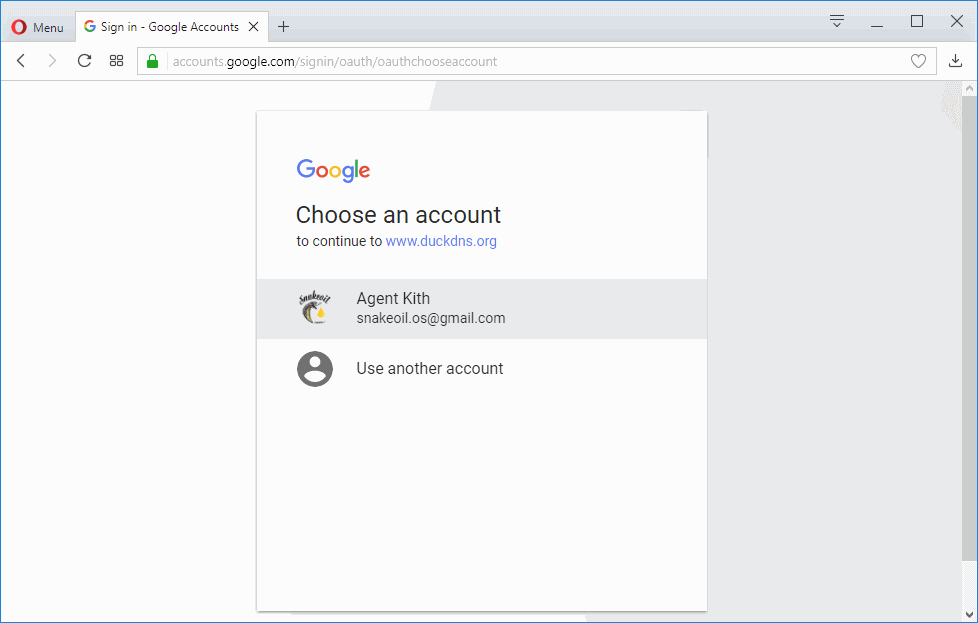
- If this is a new account, you’d be prompted to choose an account. I’m using Google+ in my examples (other services will differ slightly but the process will be similar):

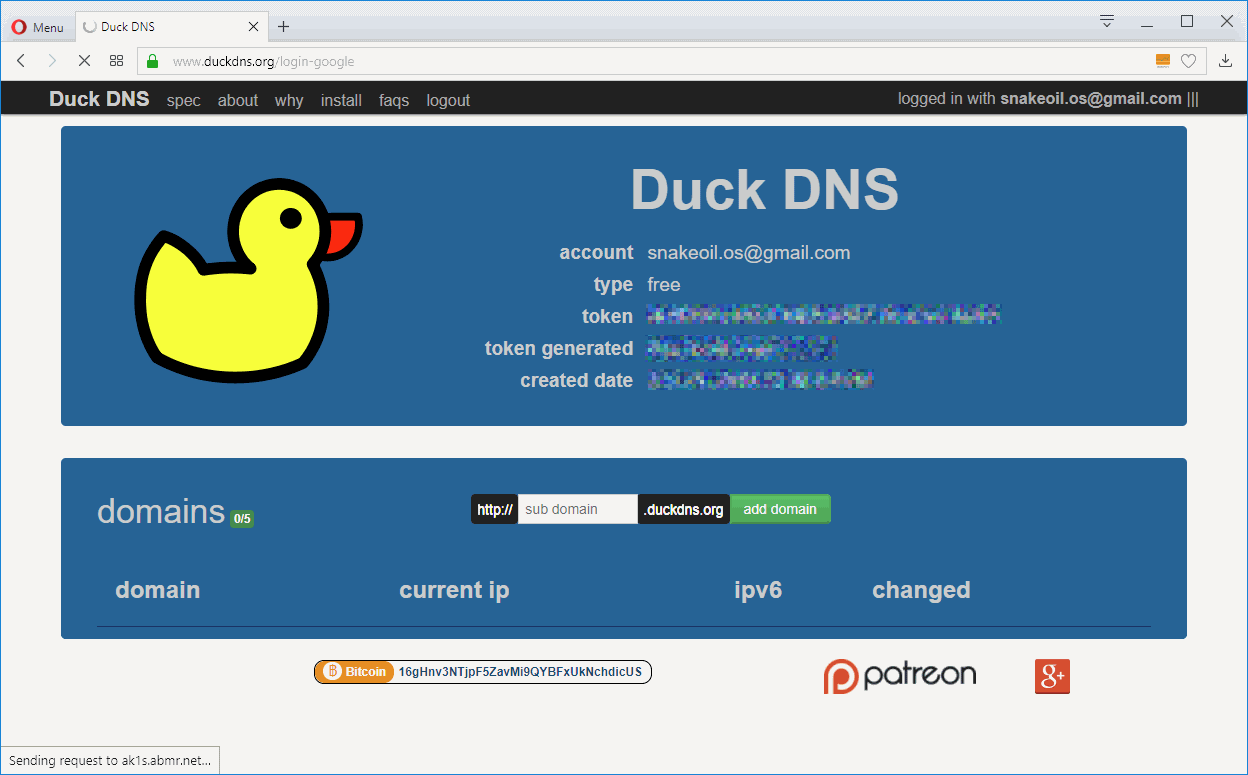
- You’d see this rather straight forward interface once you’re logged in:

- DuckDNS allows you to define 5 hosts. Think of an easy to remember name, and enter it in the ‘sub domain‘ text field.
- Click the green ‘Add Domain’ button.
- If the domain name is used an error will pop up. If the domain name is free, it’d be added to your list below, and you have 1 less out of 5 domains left to use.
Pretty straight forward! Love their work. If you do as well please consider donating to their project also.
Make Sure Your Domain Is Always Using Your Latest External IP Address
For most people, your external IP address is not permanent. Home Assistant has a duckdns component that will update your domain should your IP change. To use this compoment, edit your configuration.yaml file and add the following (remember to use your unique token ID).
duckdns:
  domain: smart-ultrahouse
  access_token: [Your DuckDNS token here]
Restart HomeAssistant and away you go.
Advertising
About The Author
Founder and lead architect of Snakeoil OS - the ultimate audiophile operating system for music playback. My primary focus is in applying technology without losing the human touch.


