CEMO M1 Aluminum Alloy mITX Case

Stumbled on this case on the Internet as I was searching for a all metal case with half height PCI brackets to replace my current plastic one:
Total cost comes in at AUD$110 (Includes shipping and tax).
This article is going to be a quick review of my thoughts and opinions on this nifty little case.
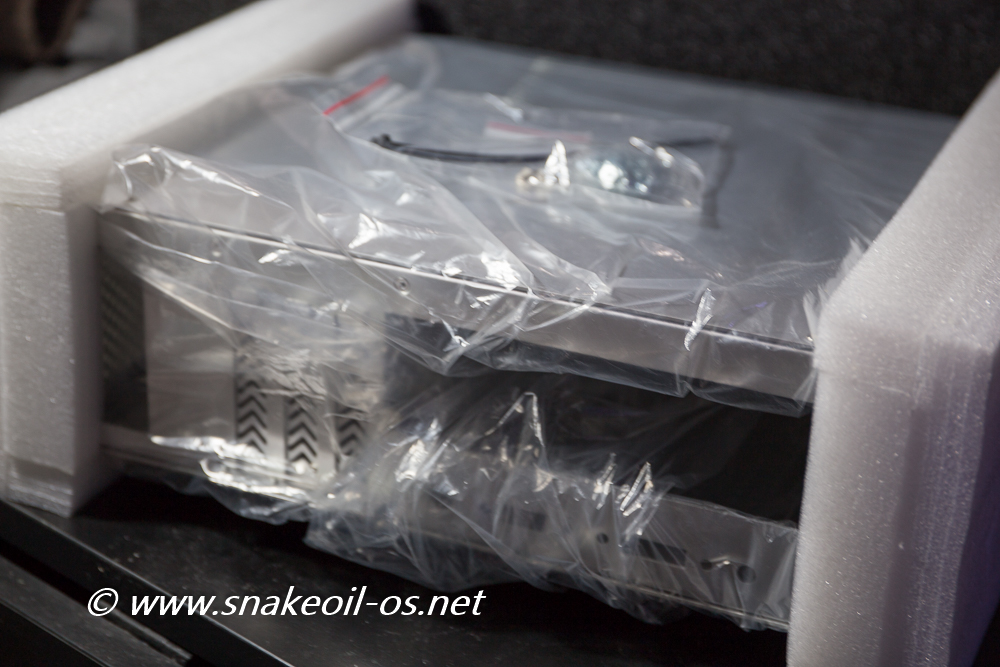
The shipping box is tiny, this is a small case after all. The dimensions of the box are approximately 37 cm (W) x 30 cm (L) x 15 cm (H). Seller shipped me this item wrapped only in a plastic bag with no protection. As expected there are some punctures and knocks here and there.
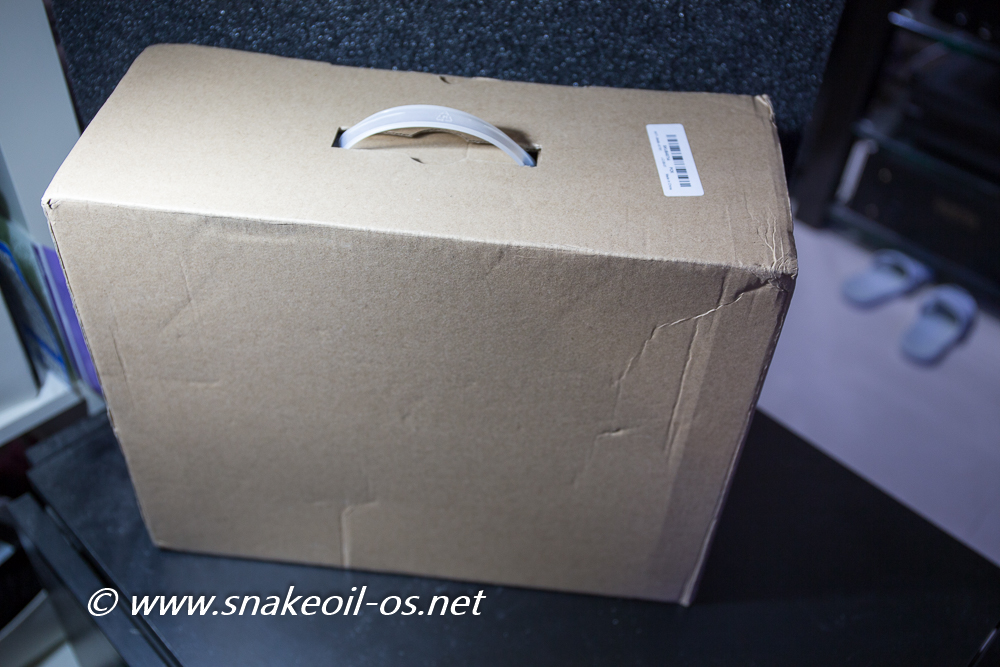
Box has no prints other than the white label on top.
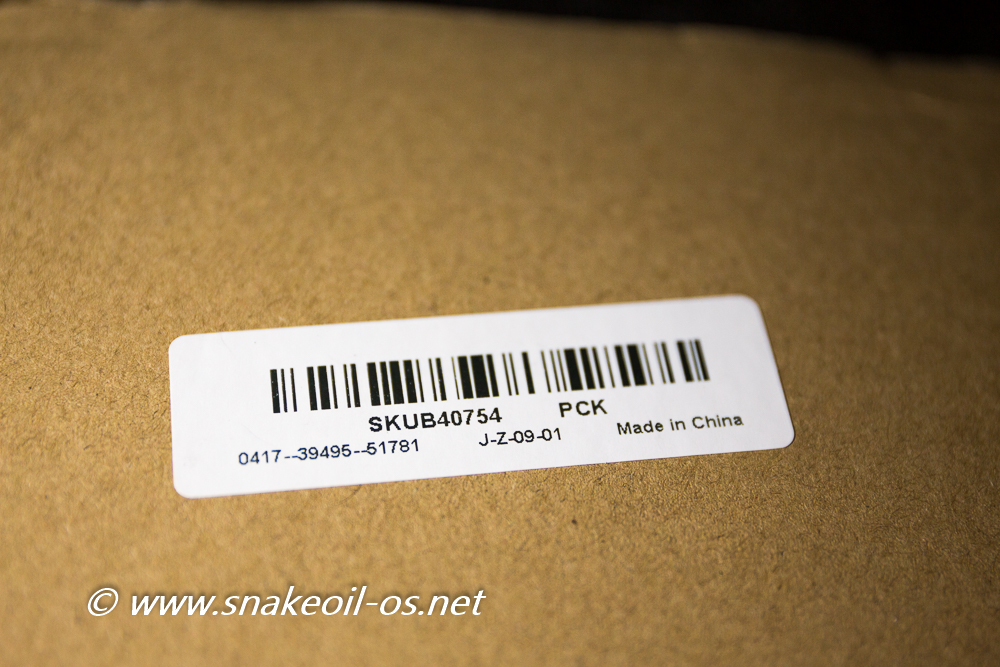
Am I the only person who finds the use of double dashes (--) weird?
The only protection are the two foam blocks on the side. There is next to no protection inside. I am lucky the courier did not really do any significant damage while transporting the goods.
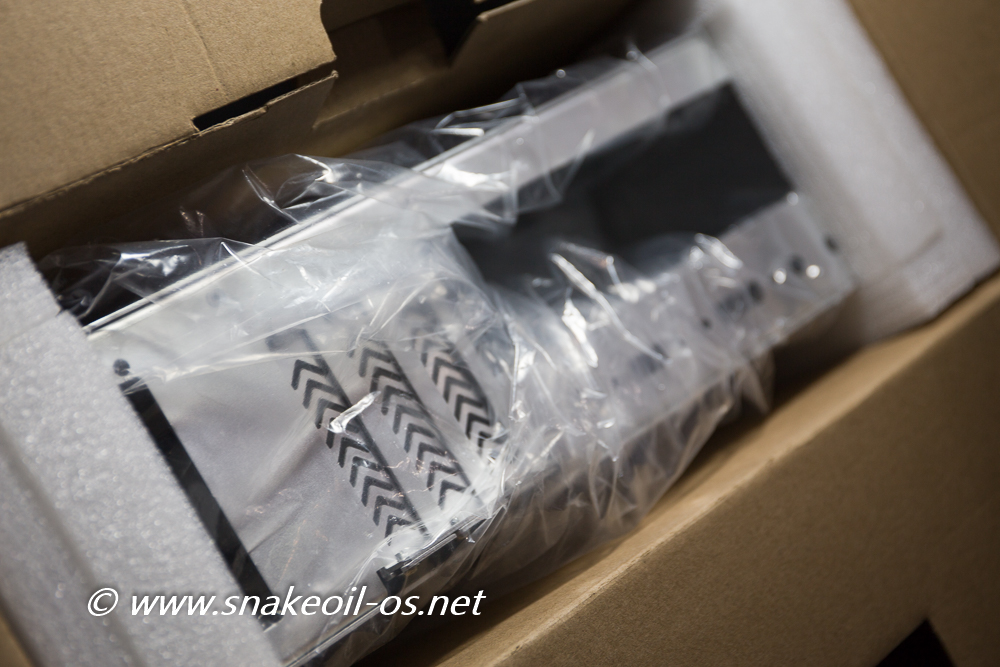
More can be done by the seller here but I am lucky there's no damage at all to the case. All you get is a bag of screws+cable ties and the case itself. There are no instruction manual/leaflet, not that we need it anyway.
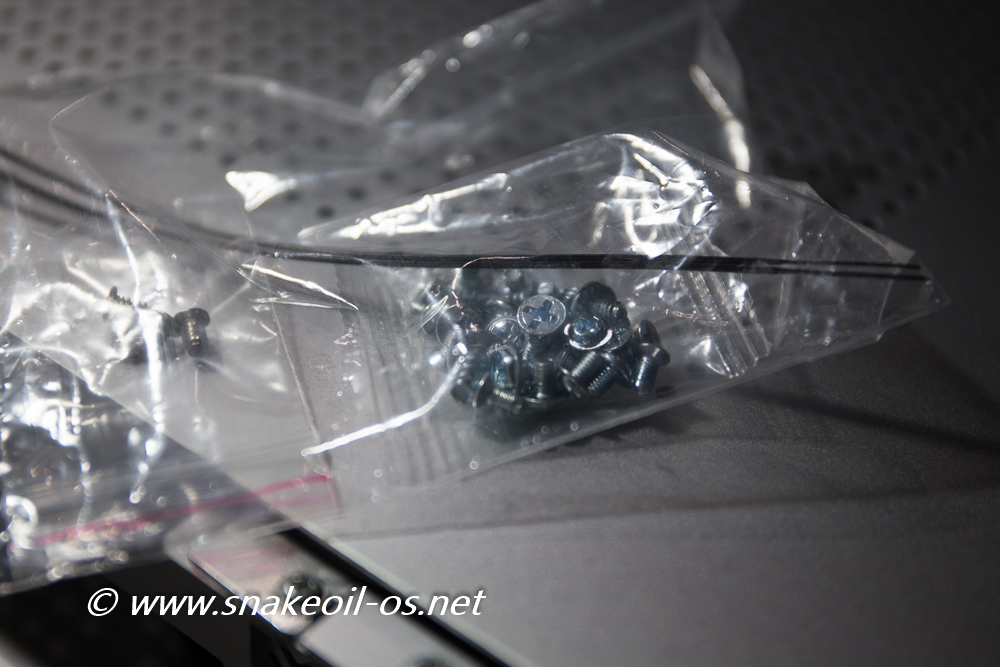
Close up of the bag of screws.
The approximate physical dimensions of the case are: 31.5 cm (W) x 25 cm (L) x 10 cm (H)
The back of the case looks good, with pre-cut holes for expansion IOs above the motherboard. The Jetway NF9C motherboard I'm using offers none of that so I'll be looking at blocking them in the future. 3 half height PCI brackets and what I assume to be a SFX PSU to round out the back of the case. Again I will look towards blocking the SFX hole in the future as well.
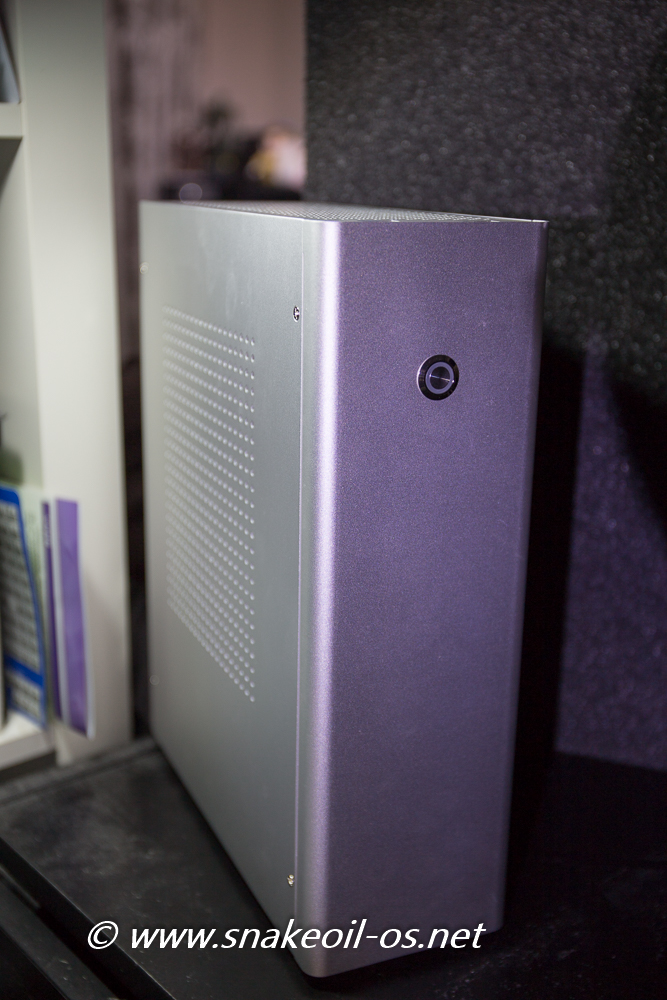
This is actually a mini tower case, designed to positioned like so. The expectation is the SFX will weigh down the case so that it can sit stably in this position. Be aware the case becomes top heavy as the CPU heat sink will raise the centre of gravity if you do not have a PSU in the case.
Not a big deal for me as I am going to lay the case on the side like a Hi-Fi equipment anyway. This is the view of the top showing 2 USB 3.0 connectors.
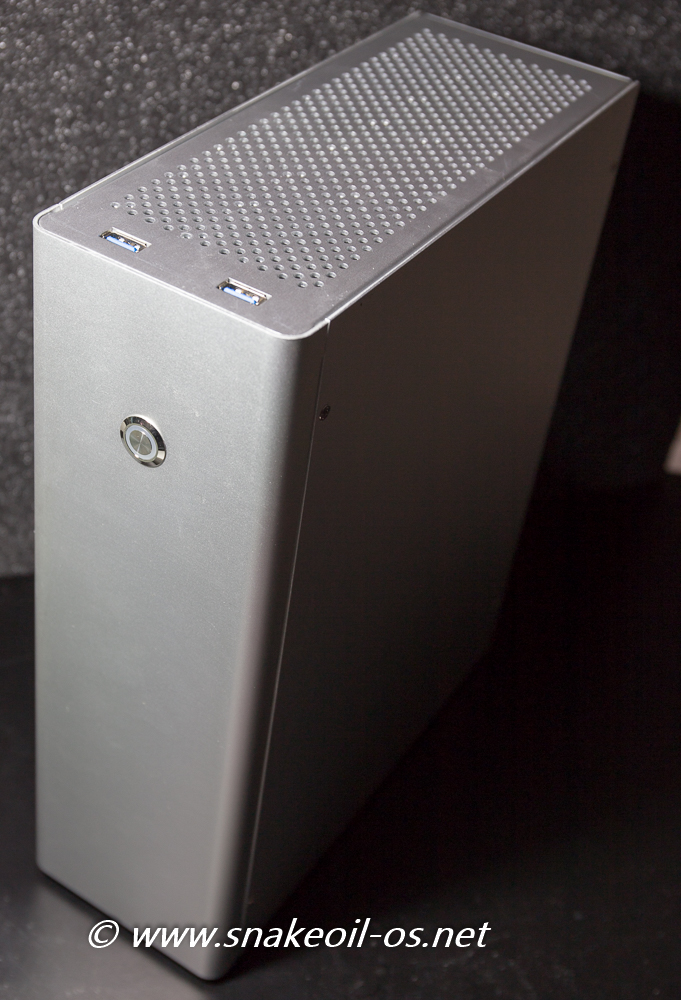
This is a lovely power switch. It is a toggle switch, meaning it does not "click in". There's a fair bit of distance/travel when depressing the switch and I simply love it! As you can see later on the white LED is bright but not glaringly so.
There are some scratches here and there. The manufacturer appears to be somewhat careless here and there when making or packing the unit. For AUD$110, I cannot really complain.
There are four rubber feet at the bottom of the case.
The feet have been removed since the case is going to rest on the side. The mounting points for these are tapered, meaning I can re-use them for other purposes, e.g. running a ground wire.
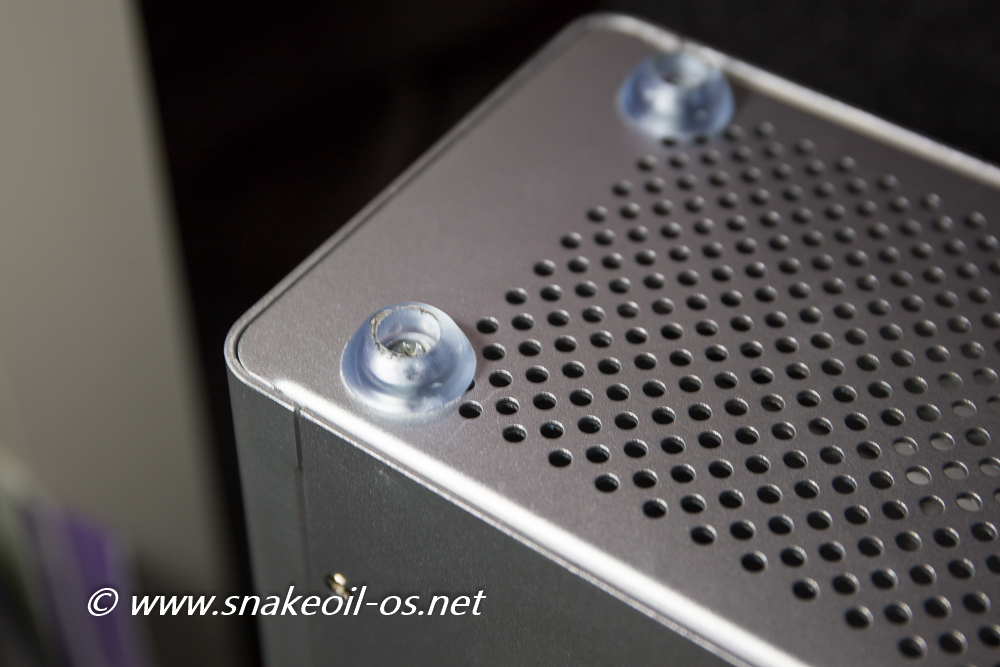
Really love the perforated holes. Light leakage from the internal LEDs is inevitable, but it might look good.
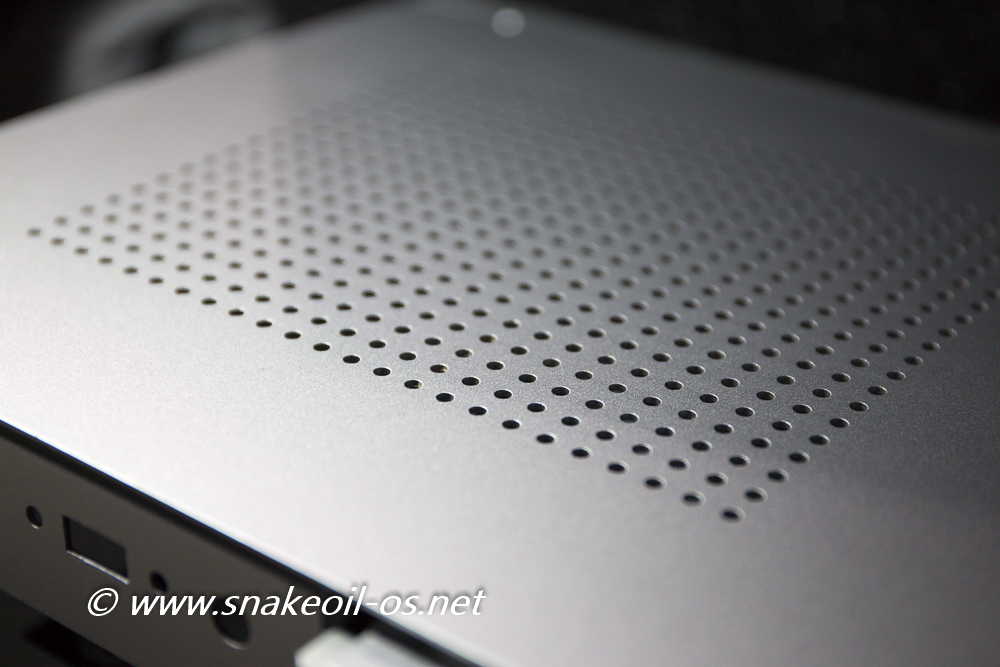
There are surprisingly no sharp edges for a case this cheap. For the first time in a very long time I did not leave my blood DNA while working on a computer case (Surprising for a $110 case).
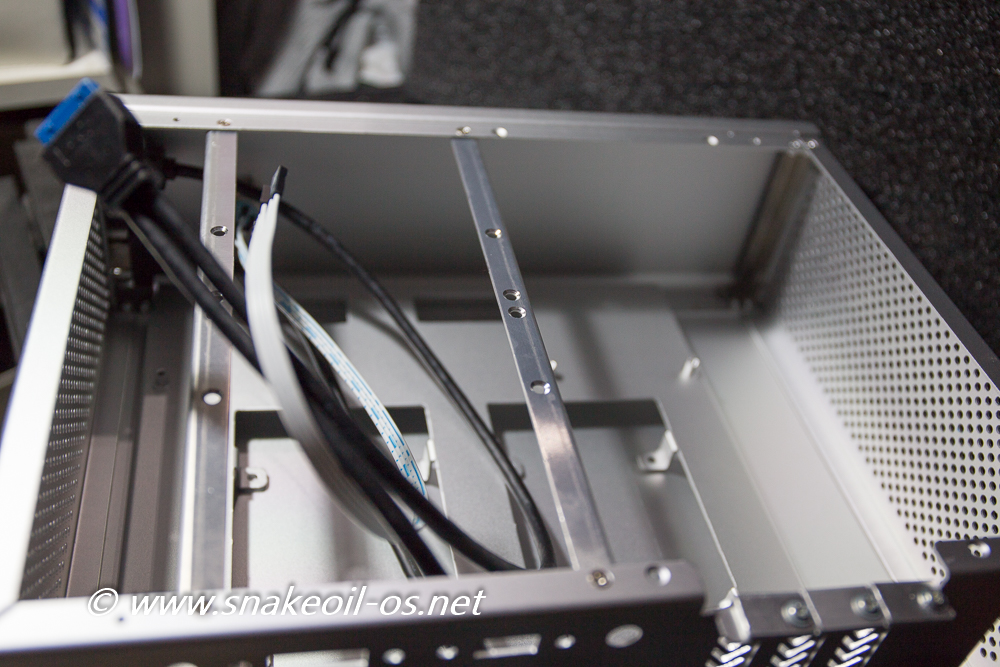
There are two strut bars at the top of the case. To provide some integrity to the structure, while also doubling as mounts for your 3.5 inch HDDs.
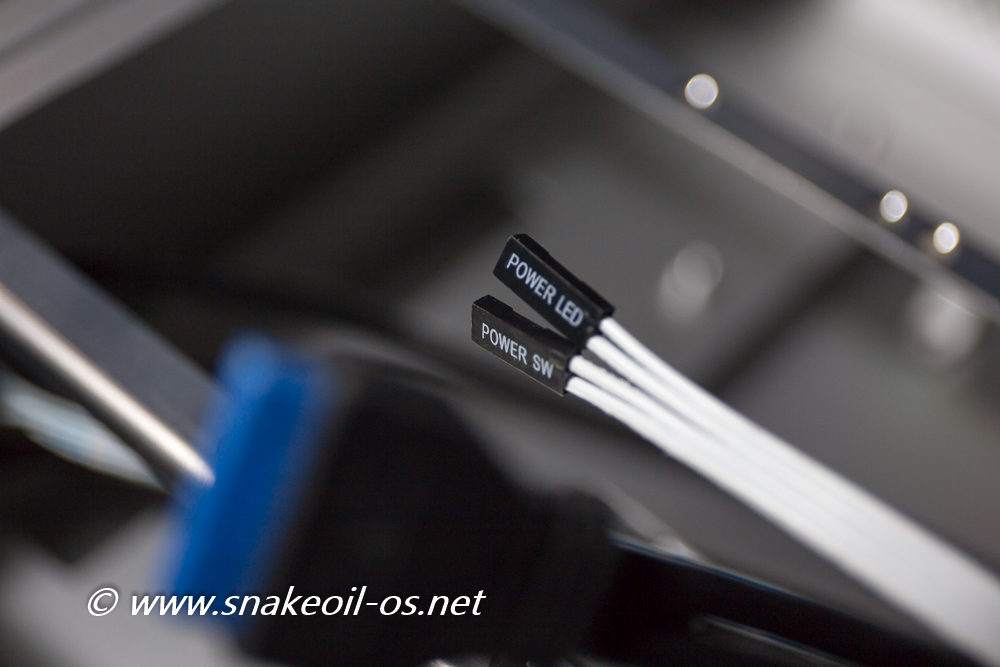
Simplistic and minimalist, there are only two headers (POWER and SWITCH) plus the USB 3.0 header if your motherboard has it. A USB 3.0 to 2.0 adaptor is not included so you need to purchase one on your own if you want to use the USB ports on the side. I disabled all on board USB on my motherboard so this is not an issue to me.
There are two spaces to mount 2.5 inch SSDs at the bottom of the case. As this sits under the motherboard it's probably best to mount the SSDs first before you fit the motherboard. Having said that, it may still be possible to angle in the SSD from the bottom with the motherboard fitted.
I am running my OS on a CFast card so I did not really test this.
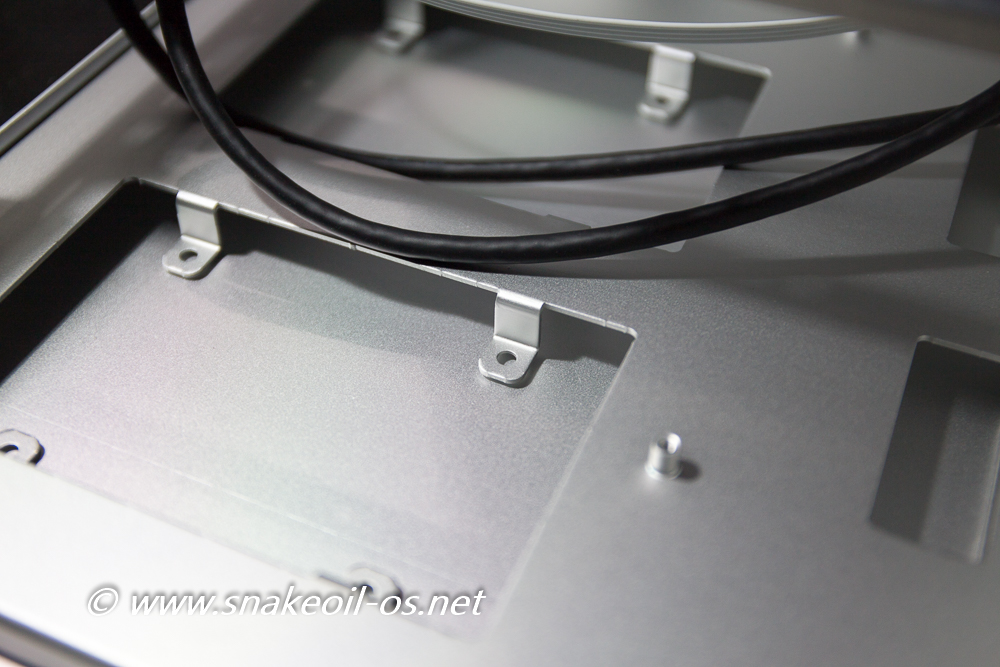
There are ample spaces to route the cables for a clean look. I did not do a neat job at all but in my defense I'm pressed for time.
For DIY'ers, there is some room but not a lot to work with to mount your custom linear power supply. Again not a problem for mel as I'm powering this with a Uptone JS-2.

Good to see there is enough case height clearance for you to use a slightly bigger CPU heat sink in this case. But this is still a small case so your heat sink choices are still limited to low profile coolers.
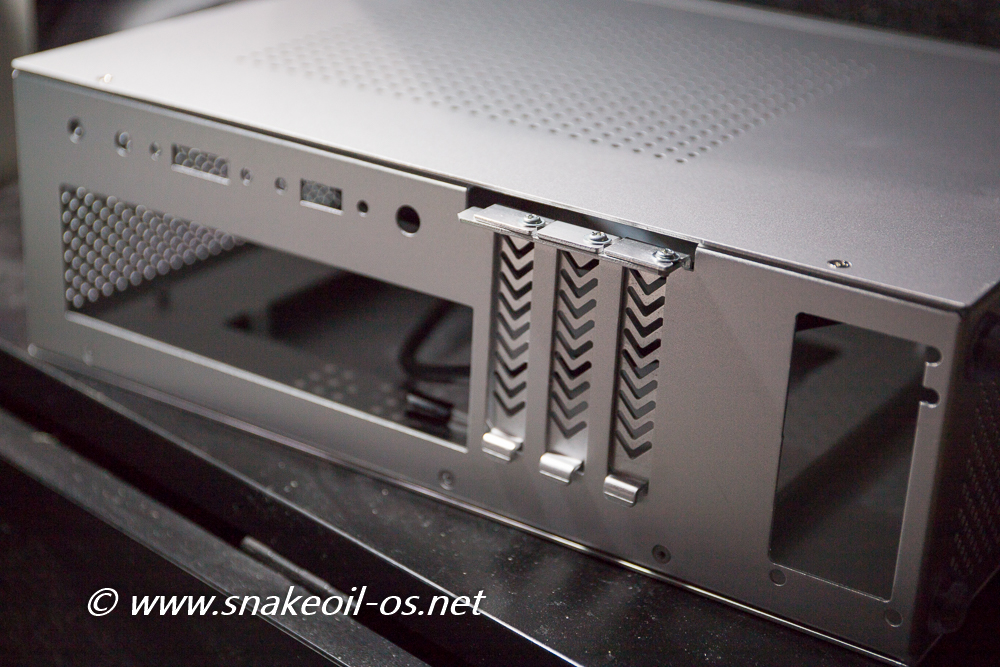
The only major problem I have with the case are the expansion ports. There is no easy way to secure the second and 3rd expansion cards as most brackets does not have the latch pictured below.
On some cases there is second piece of metal at the end of the expansion holes, allowing you to wedge and secure the expansion card in place. That anchor is missing on this case and the bracket latch is the only way to securely hold the expansion card firmly in the slot. Unfortunately I cannot easily bend the existing USB bracket to fit.
Currently the only item that secures the expansion card is the screw. This is not going to work well long term.
There are two ways I can fix this:
- Secure the PCI-e expander onto the motherboard, thereby providing a proper anchor for the expansion slot
- Add a second piece of metal allowing the expansion card to wedge between. Basically create an anchor point, anything will do, even cable ties!
Right now I'm taking the third option: don't fix it now if it ain't broken yet,
This is a quick picture of all PC components fitted. The flimsy USB SOtM USB card aside, everything is running nice and smooth. On hindsight I should have taken a close up on the PCI-e expander.
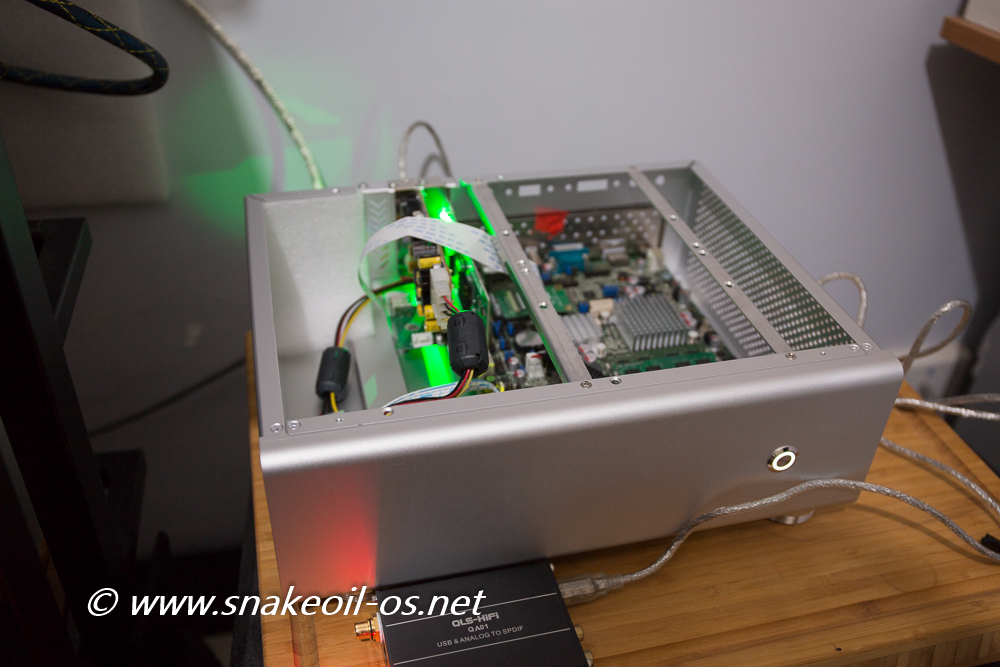
The black box (QLS) at the bottom of the picture is a sacrificial USB I'm using to make sure everything is working on the first power up.
The white LED glow is un-intrusive and diffused beautifully. Easily the best feature of this case.
Happy to report there are no apparent issues with the case swap.
Everything still works. Big relief as you'll never know what to expect with electronics when you're trying to get something done quickly (A recipe where things usually go wrong)
As of writing the PC is using a PCI Intel E1000 network card and the SOtM PCI-e USB card. Ultimately I'll be swapping the two cards and replace them with the PCI SOtM card and a SFP gigabit fiber network (No point running a 10 Gbps network card as the Jetway CPU cannot handle that kind of bandwidth).
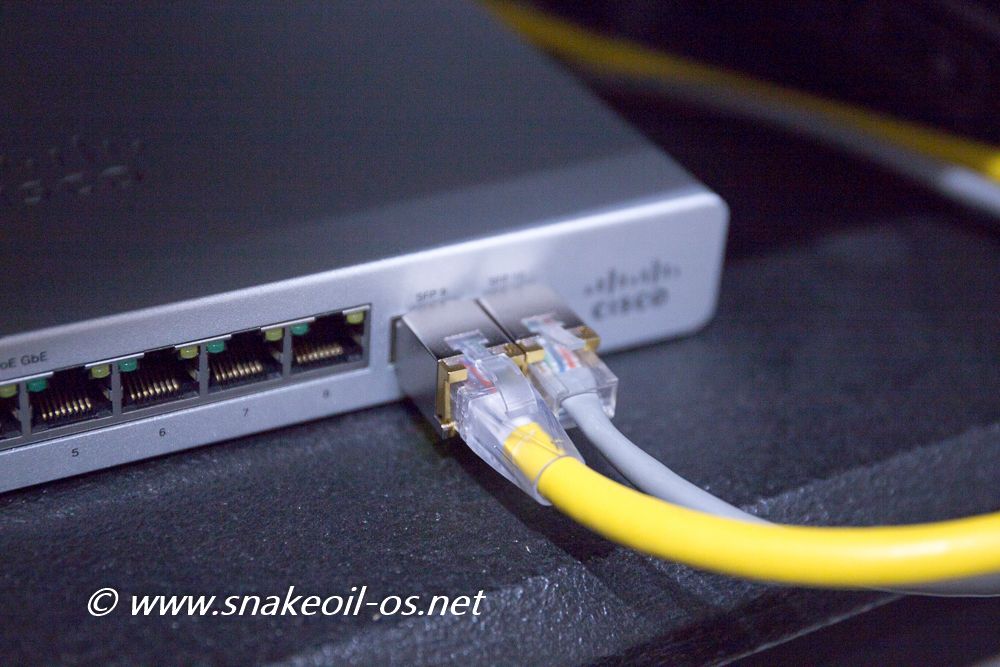
The fiber connection will be from the Meraki switch (Pictured above, currently fitted with SFP Ethernet modules). Hopefully the SFP network card I'm getting will have include a half height bracket that works better with this case.
Side note, curiously my initial reaction to the sound coming out of the RJ45 module is not very positive. Maybe this impression will change in time. Stay tuned.
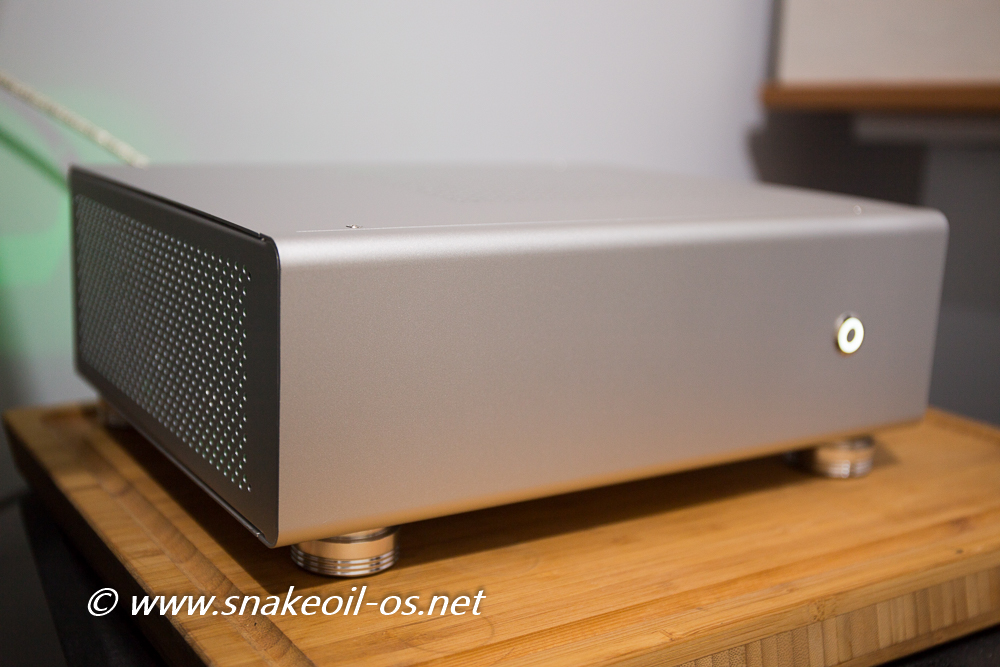
This case looks pretty decent with the bling hi-fi feet.
A bit of laser engraving will really tart up this already pretty case even more. Overall this case is really good value for the money. I am really happy with this case and will give it a score of 8/10.
Pros
- Attractive minimalist design
- Easy and quick to work with.
- No sharp edges to take my fingers out
- Great expansion options with 3 PCI ports, 2x SSD, 2x HDD and multiple expansion pre-cut holes for Wifi, e-sata, etc.
- Love the Power switch
Cons
- Not the best design for tower use, works better flat
- Minor scratches here and there
- Not enough protection for transport
- No proper support/anchor provided for generic PCI expansion cards
I would like to take this opportunity to thank all the PayPal donors and Patreon supporters. All this will not happen with your continual support!
Add new comment