About: Home Automation
This category contain all my notes on home automation. As I am not a systematic person, the articles are not published in chronological order.
Follow the order below if you starting into home automation:
This category contain all my notes on home automation. As I am not a systematic person, the articles are not published in chronological order.
Follow the order below if you starting into home automation:
Every new Home Assistant release brings breaking changes.
This trend is getting really tedious to be honest, and it really shows the immaturity of the developers of not thinking things through. Honestly I never liked the concept of agile development. Developing at such a rapid pace with no time to think through good/solid design concepts may well be this project’s downfall.
They seriously need to have a stable branch for backwards compatibility, and only introduce breaking changes when they are finally ready to make it release 1.0.0. But who am I to complain? I’m not involved in the development at all. So really need to suck it up, and do all the necessary changes to make Google Assistant work again.
Note this walk-through is aimed for Home Assistant 0.80 and above.
Refer to the previous article if you’re using Home Assistant 0.79 and below.
IMPORTANT!!! This tutorial is outdated and will not work with Home Assistant 0.80 and above. If you want to migrate your existing setup to 0.80, please follow this quick guide.
I’m still a noob when it comes to Home Assistant.
My first attempt to control the XiaoMi Yeelights was via IFTTT . This solution is simply too rigid - every action has to be set via a IFTTT applet. While this solution works the whole experience becomes rather clumsy as the phrases are more or less fixed. It just does not feel like a smart way of doing things.
Next I tried to control the Yeelights using XiaoMi wireless switches. This method worked extremely well but at the end of the day this is not voice control. Folks have to locate the switch, and know action to do turn the lights on/off or change the brightness. This is not my goal for the ultra house. I want to be able to use my voice to turn things on/off and not be tied down to hard coded phrases.
The user experience has to be good. And I found it via Google Assistant Home Control. Check out the video below.
My slow Internet aside (high latency), it’s the best user experience I have found so far!
This article will allow you to do the same for your home. Click the second page to find out more!
In our previous Home Automation tutorials - our Home Assistant traffic traverses through the Internet un-encrypted.
This means anybody can intercept the data and peek into the contents. Because everything is in the clear, the API password that’s embedded in the URL is also exposed to the public.
I’m perfectly fine with that, most people will consider this a security risk.
Securing web sites used to cost a lot of money - domain names and SSL certificates can cost a lot of money. Times have changed. Thanks to LetsEncrypt and DuckDNS, SSL protected websites are no longer for the rich.
There are two main reasons to encrypt your HomeAssistant assistant:
Sure devices like YeeLights can already be connected directly to Google Home. However, personally I reckon it is far better in the long run to centralise everything in Home Assistant, then expose the things you want into Google.
Even if you are not fussed with security, #2 alone justifies the effort to secure your Home Assistant. In this tutorial we will show you how to create your very own domain and to how to use LetsEncrypt certificates to secure your Home Assistant server.
Linking Home Assistant setup to Google Assistant will have to discussed in another time.
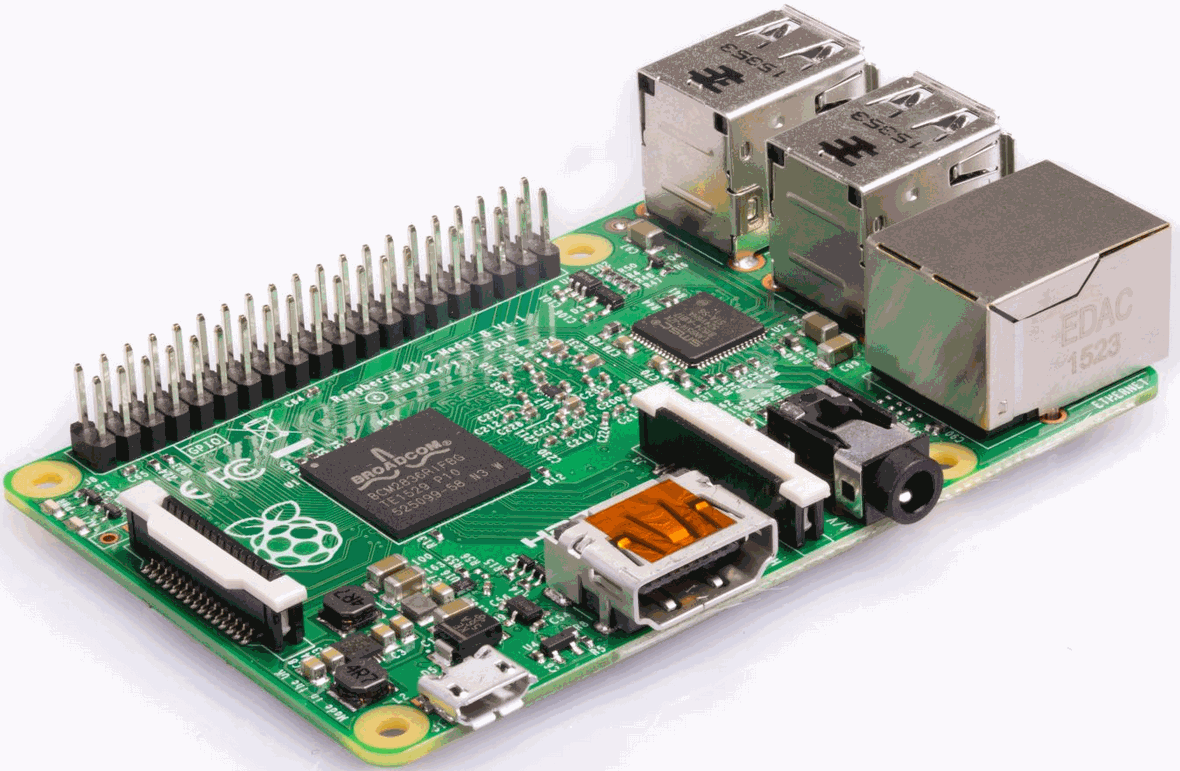
I’m running my Home Assistant in my home lab. This is overkill for most people - a cheap US $35 Raspberry Pi has enough processing power to automate your house.
This tutorial is a quick HOWTO on the basics of a Raspberry Pi, and how to install Home Assistant on one.
Although this HOWTO is written for Raspberry Pi 2, it should work for the 3 too.