Integrate Xiaomi Gateway Into Home Assistant


Using IFTTT and Voice Control to control lights isn't as effective as initially anticipated - Google Home kept mis-interpreting what I said and go off some wild tangents. An easier way is to use the XiaoMi Gateway (Zigbee) and wireless switches.
This tutorial will show you how to register your Gateway into your Home Assistant, and then show you some simple automation examples with the XiaoMi Zigbee devices, like:
- Use a XiaoMi switch to turn on/off a Yeelight
- Use a XiaoMi switch and Gateway as a door bell
- Use a XiaoMi switch to turn on/off a XiaoMi smart plug
This tutorial is based on the standard documentation for XiaoMi Gateway.
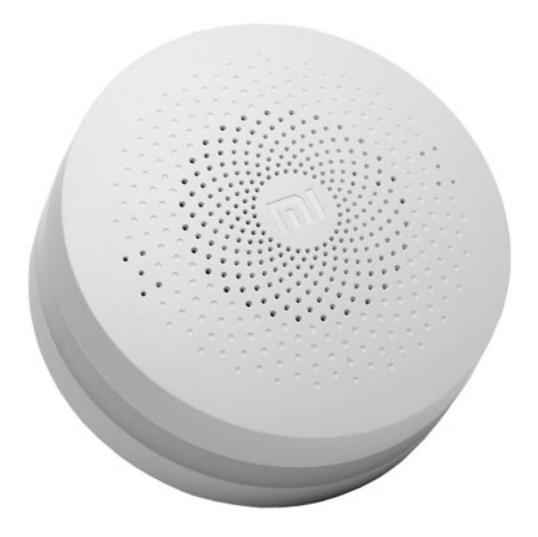
The XiaoMi Gateway is a quirky device. It is a multi-function device acting as:
- A Zigbee gateway (Zigbee is a protocol that allows you to connect multiple low power, wireless devices for home automation. Read more here.)
- A speaker allowing you to play recorded sounds, or acts as Internet radio streamer playing only Chinese stations.
- An ambient light sensor (tells you how bright the surrounding is).
- it also has a ring of light around its edges (can be used for notification, or as a nightlight)
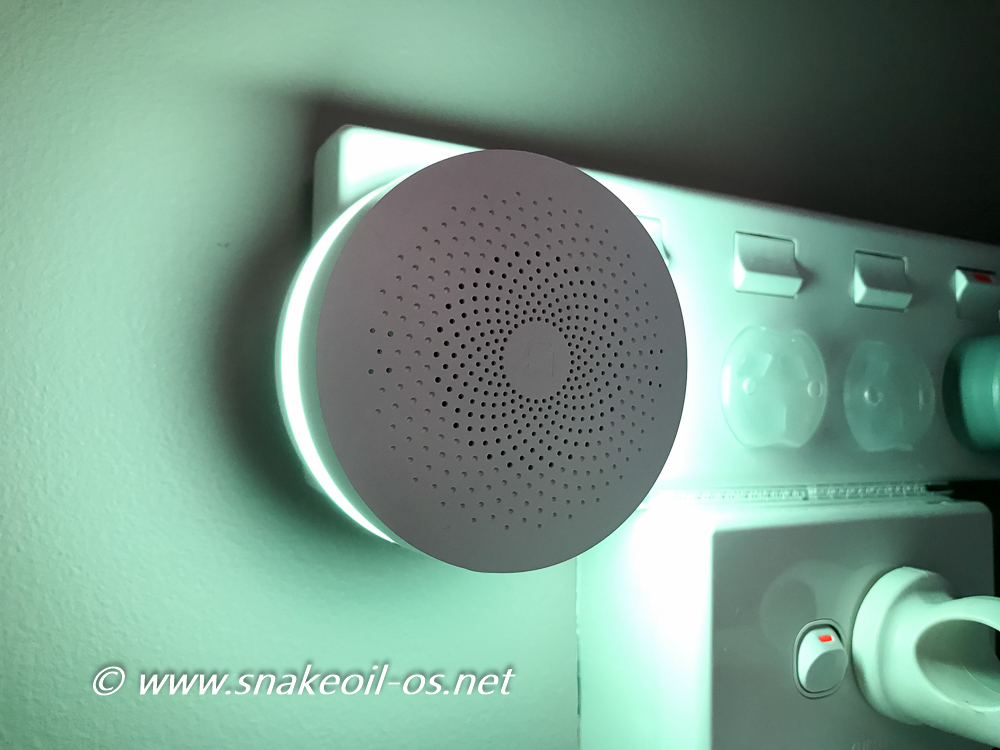
This is how I position my gateway - high up on a wall for improved visibility.
Register Gateway to XiaoMi
As with everything XiaoMi, first we need to register the device to MiHome system.
- Add the gateway to your MiHome
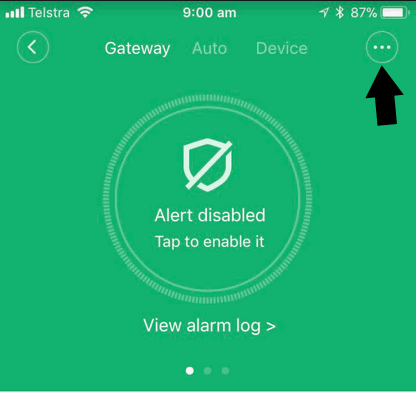
- Click the ... icon in the top left corner:
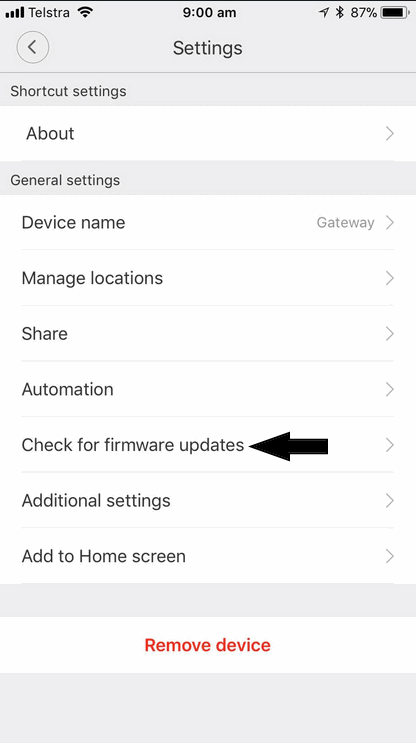
- Update to the latest Firmware if there is one:
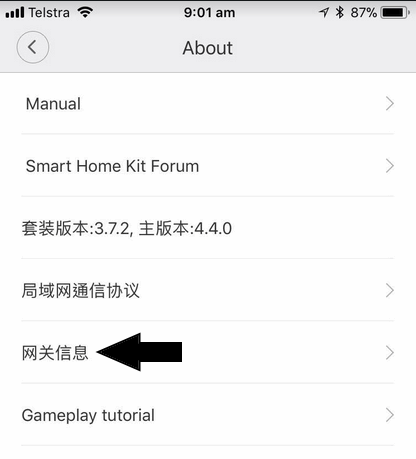
- Now return to the previous screen and click About:
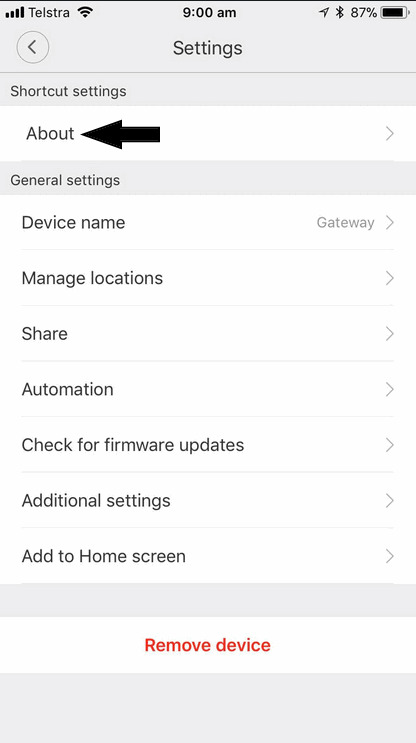
- Tap the blank area 5 times. As per user comment, if running a later version, tap the bottom of the screen multiple times:
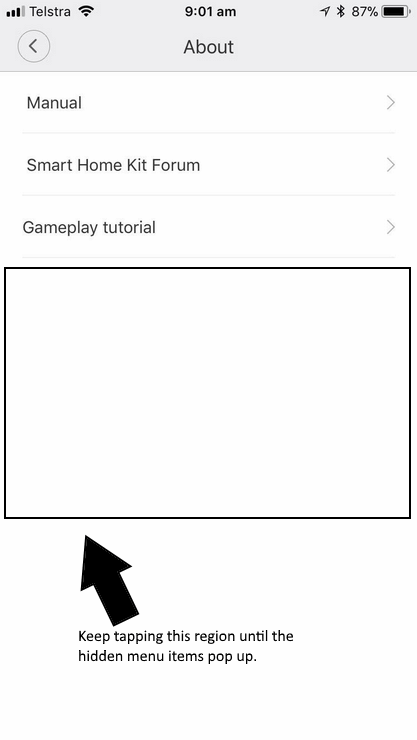
- You should see these extra menu items (shown in Chinese for some reason), click the menu marked with the arrow:
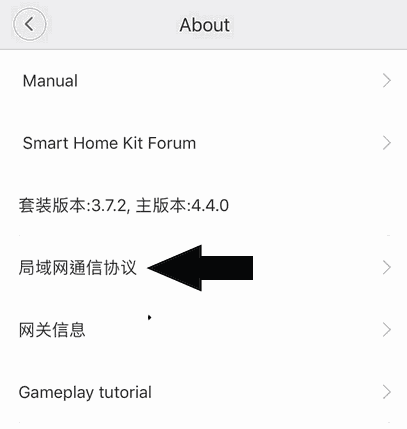
- Copy down the password:
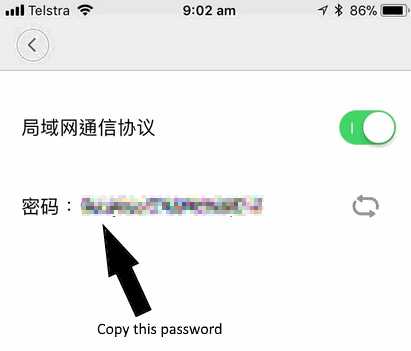
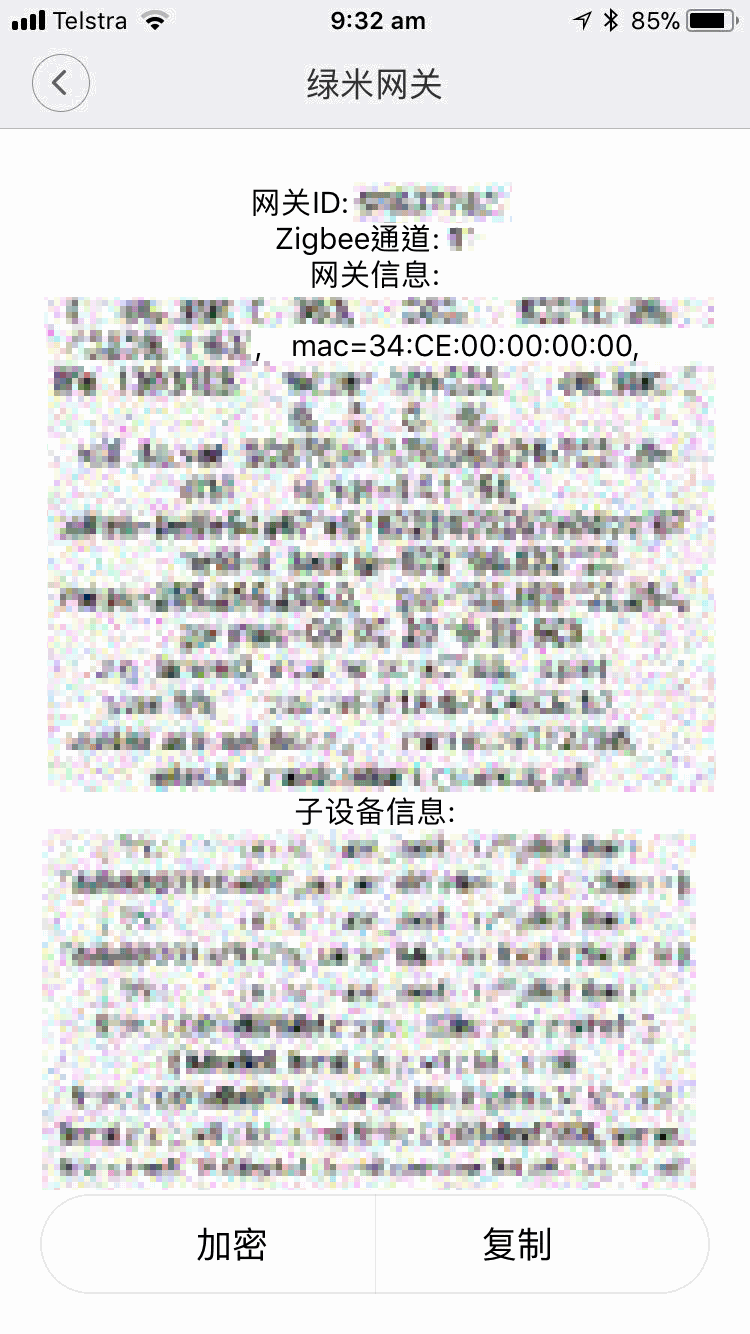
- Go back to the previous menu, and click the menu marked with the arrow:
- Find and copy down the mac address. This field starts with mac= and is a unique identifier (e.g. 34:CE:00:00:00:00):
- You now have everything you need to register your gateway to your Hass setup. Before we do that, for now register all your Zigbee devices for this gateway now (little gadgets like Temperature/Humidity Sensor, power plug, mono switches, etc)
Add Gateway To Home Assistant
You are now ready to register your XiaoMi Gateway. At the time of writing, the Hass documentation has this note:
# You can leave MAC empty if you only have one gateway.
That did not work for me. Had to specify the MAC address in my home setup for Hass to find the XiaoMi Gateway.
- Login to your Home Assistant setup and modify the configuration.yaml file.
-
Add the following section, replace the mac and key fields with your unique mac address and password from the previous page.
xiaomi_aqara:
 discovery_retry: 5
 gateways:
 - mac: 34ce00000000
key: your_gateway_password - Restart Home Assistant Control.
- If everything works, you should see additional widgets appearing on the dashboard. Note that your widgets have long generic names when first recognised by Home Assistant. You can rename your devices by going to Configuration → Customization:
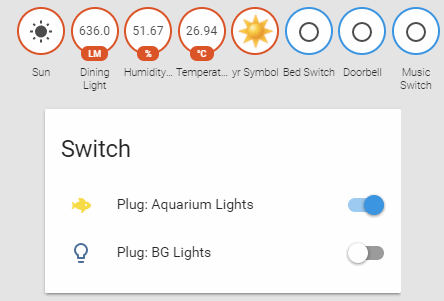
- In the above example I have 3x mono switches, 1x temp/humidity sensor and 2x power plugs. They all show up at various locations. Havn't figured out why the switches don't show up on a panel like the switches do (If you know how please leave a comment below thanx!).
- Now that all the devices are showing up properly, we are ready for some automation.
HASS Automation
The sky's the limit on what you can do with Home Assistant. I'm just going to offer some basic automation examples in this tutorial. Here's an example of how I use control the mood lighting in my room, using Home Assistant to control XiaoMi powerplug, XiaoMi Smart switch and XiaoMi Yeelight.
It's a crappy video, but hope you get the idea.
How To Create A New Automation
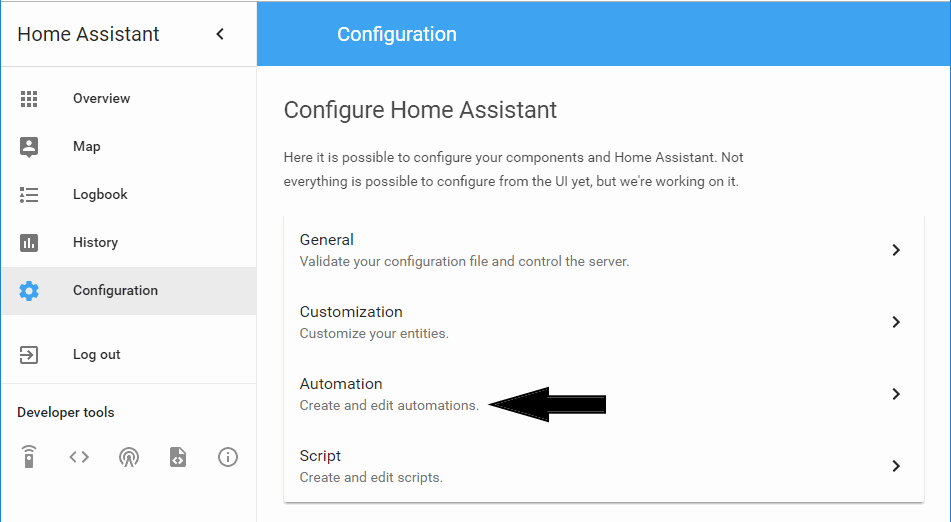
Automation examples in this tutorial are created from the Automation editor from the Hass Web Application. You can access the web application via Configuration → Automation as shown below:
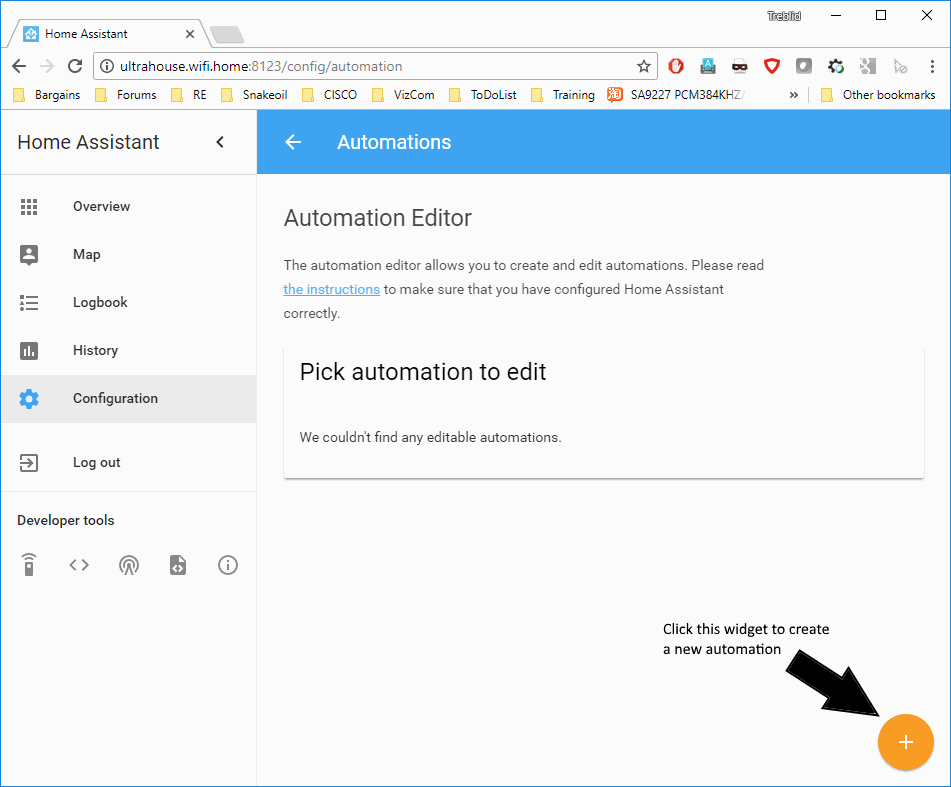
Once in Automation editor, click the + icon on the bottom right to create a new Automation.
Entity IDs
You'd need to know the name of the Zigbee devices you want to control. You can find this in the developer tools section of Home Assistant (lower left). Click the icon marked below to access the list:

Locate the entity_id under the Entity column for the device you want to control - you will need this information when creating your Automation information.
| Zigbee Device | Illustration | Entity_ID |
|---|---|---|
| Original XiaoMi Mi Smart WiFi Remote Control Multi-functional Gateway Upgrade | |
sensor.illumination_xxxx |
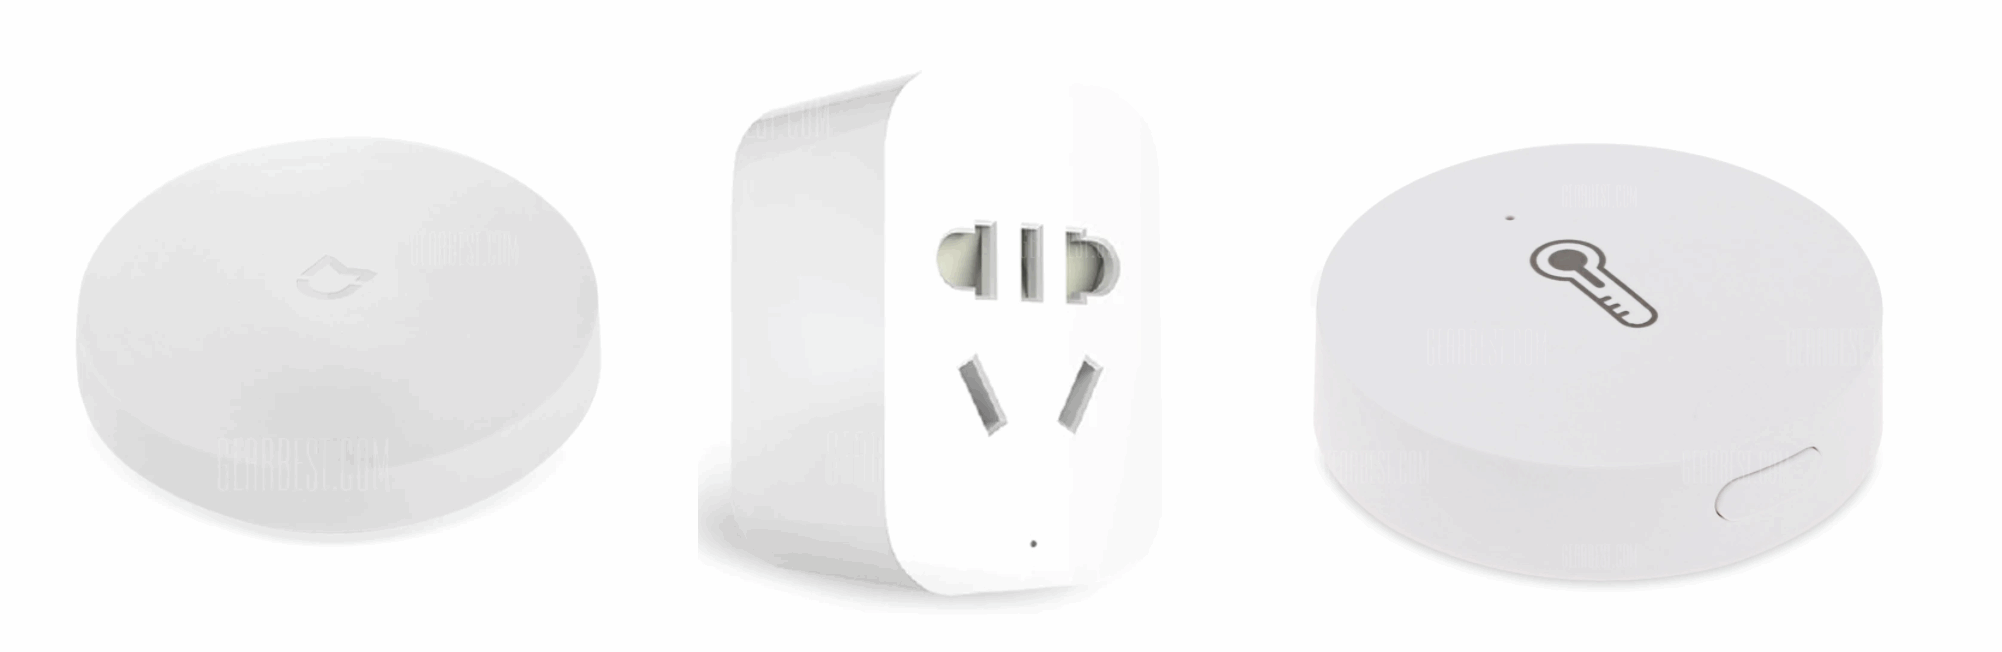
| Original XiaoMi Smart Wireless Switch |  |
binary_sensor.switch_xxxx |
| Original XiaoMi Mi Smart Temperature and Humidity Sensor |  |
sensor.temperature_xxxx |
| sensor.humidity_xxxx | ||
| Original XiaoMi Mi Smart WiFi Socket - ZigBee Version | 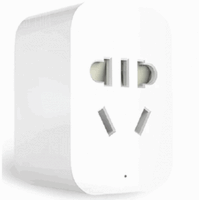 |
switch.plug_xxxx |
Now you have all the basics out of the way. Let's create some simple Automations.
Use Wireless Switch To Turn On/Off XiaoMi Yeelight
This is a simple rule to train the XiaoMi Wireless switch to act like a normal wall light switch.
- Add a new Automation rule as described in page 5 of this tutorial.
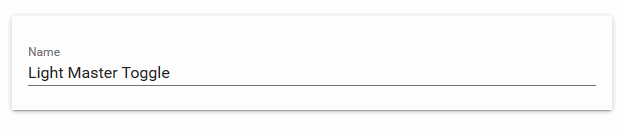
- Choose an appropriate name for this Automation (this will be shown in Overview).
- Leave the conditions empty. This means the action will always be fired when the trigger is activated.
- Fill in the Action portion like so, remember to substitute the entity_id with the one for your Zigbee device:
- Click the save icon in the lower right.

- Congratulations. You have just created your first Automation.
Now try it out by clicking the button.
You can expand on this simple rule by setting conditions, and it can be anything you want. For example, when you are in the house, or when the time is between 9am to 10pm and so on. You can specify multiple actions on a trigger (e.g. turn on the light and a power socket). The wireless switch support the following event types:
singledoubleholdlong_click_presslong_click_release
So far I have only tried single, double and long_click_press. Not entirely sure what is hold or long_click_release (they may just be duplicates of long_click_press). In other words, you can specify at least 3 Automations for a XiaoMi Smart wireless switch.
Simple Door Bell
Here is an example of using a Wireless Switch for a doorbell. For some reason in Australia wireless door chimes are very expensive. I purchased a AUD $30 unit (cheapest!) from Bunnings a while back and it gave me no end of trouble. The chime will either not work when somebody press the button, or it will ring but there's nobody at the door (interference or somebody else is using the same channel).
The Gateway and a wireless were purchased on special for a princely sum of $40 and have no problems so far *touch wood*. Just remember to position your XiaoMi switch in a well sheltered location away from direct sunlight or rain. There is a risk the switch will be stolen by somebody though!
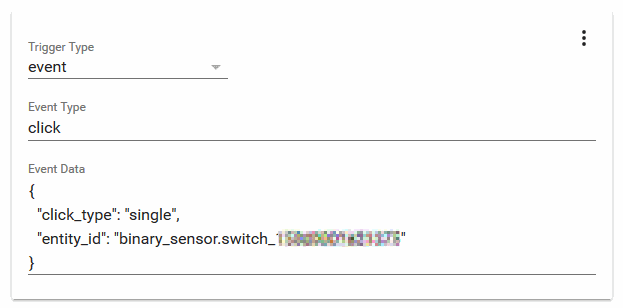
- Add a new Automation rule as described in page 5 of this tutorial.
- Specify the Trigger like so:

- You may want to set a condition here. Perhaps you like your beauty sleep and don't want kids to prank at 3am in the morning. The following condition means the door bell only works from 8am to 8pm everyday:

- Specify the Action like so. Feel free to adjust the volume (ringtone_vol) to the preferred sound level you prefer:
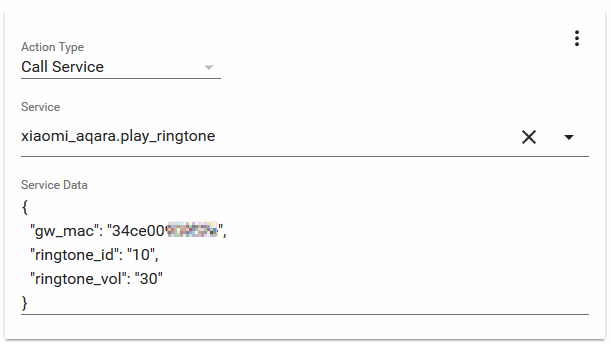
-
The ringtone_id are as follows, you can even create your own custom ones via the XiaoMi Home App.
Ringtone Type ringtone_id Description Alarms 0 Police car 1 1 Police car 2 2 Accident 3 Countdown 4 Ghost 5 Sniper rifle 6 Battle 7 Air raid 8 Bark Doorbells 10 Doorbell 11 Knock at a door 12 Amuse 13 Alarm clock Alarm clock 20 MiMix 21 Enthusiastic 22 GuitarClassic 23 IceWorldPiano 24 LeisureTime 25 ChildHood 26 MorningStreamLiet 27 MusicBox 28 Orange 29 Thinker 10000+ Your Custom Ring Tones - Save the Automation. And you're set.
Try this new Automation now and see how it goes.
Conclusion
So you're now introduced to the basics of the XiaoMi Gateway and it's peripherals, and how to integrate them all into your Home Assistant setup.
This tutorial is just a introduction and we are merely touching the tip of a huge iceberg.
As mentioned previously - the sky's the limit. Example of additional things you can do is to expand on this simple door chime idea by turning on/off the light on the XiaoMi gateway (As another Automation, or daisy chained into the current one).
You're not limited by your own imagination, only by the smart devices you own . In time there will be more blog articles to address them all. If you like this article, don't forget to read other related articles linked below.
Would love to hear more from you. Comments/Suggestions/Questions are welcome, please post them below and I'd try my best to address them.
Related News

Linking Google Assistant To Home Assistant 0.80 and above
Every new Home Assistant release brings breaking changes.
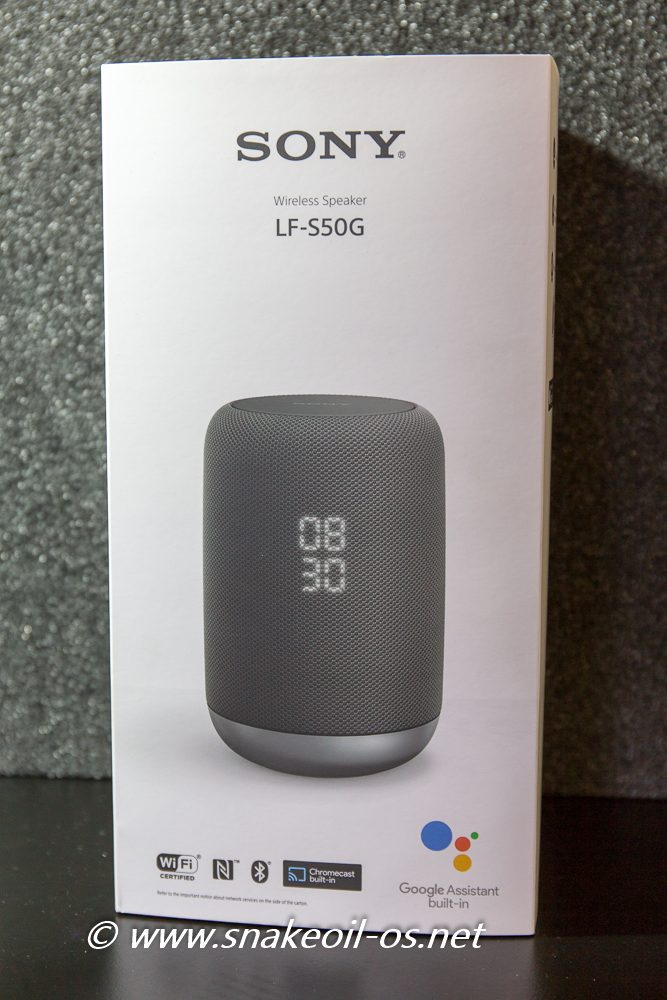
Sony LS-F50G Google Assistant
My company held a lucky draw recently and I am lucky enough to win this, a Sony LS-F50G Goog
Link Your Home Assistant To Google Assistant Home Control
Article removed as content is meant for older version of HASS and will no longer work in 0.8 and
Comments
in point 5, with version 2…
in point 5, with version 2.66.2, I needed to press 5 times, or more, not in the blank area above the version, at the bottom of the screen
Thanks. Have updated the…
In reply to in point 5, with version 2… by Diogo (not verified)
Thanks. Have updated the article.
I dont understand step 2…
I dont understand step 2. How can i do this step?
Thanks
Hi Juan, which step 2 are…
In reply to I dont understand step 2… by Juan (not verified)
Hi Juan, which step 2 are you referring to? Can you tell me the page # of the article you’re having problems with?
Hi I cant find the password…
Hi I cant find the password field in the latest version of the gateway 3.3.10_117 there is now a security PIN password General Settings > Security. Is this the same value?? Mac address and IP details can now also be viewed in a different menu General Settings > Network Info
No. The process has changed…
In reply to Hi I cant find the password… by MALCOLM (not verified)
No. The process has changed slightly, but it’s the same logic.
Add new comment