How To Control Your Yeelight With Google Home And Home Assistant

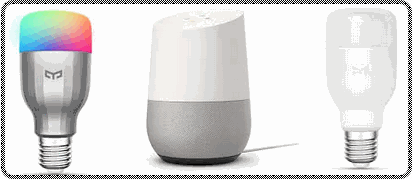
Following the XiaoMi Vacuum, colour me impressed by the build and quality of everything XiaoMi. Got a bit carried away by the moment and so went on a spree and purchased many more XiaoMi smart devices - including the famous XiaoMi YeeLights.
This is a tutorial on how I integrate YeeLight in my ultrahouse - using Google Home as my voice control, and Home Assistant as the 'brains'. It is assumed you already have a functional Home Assistant running installation in your home network. If you do not, refer to my earlier article on how to setup Home Assistant, IFTTT and WebHooks.
For now I've only added the YeeLight and used voice control to turn the lights on/off. Later on I will expand on this basic configuration with functionality, e.g. turn it on/off via the XiaoMi gateway and a wireless ZigBee switch. So until then, remember to watch this space!
Joining YeeLight To Your Network
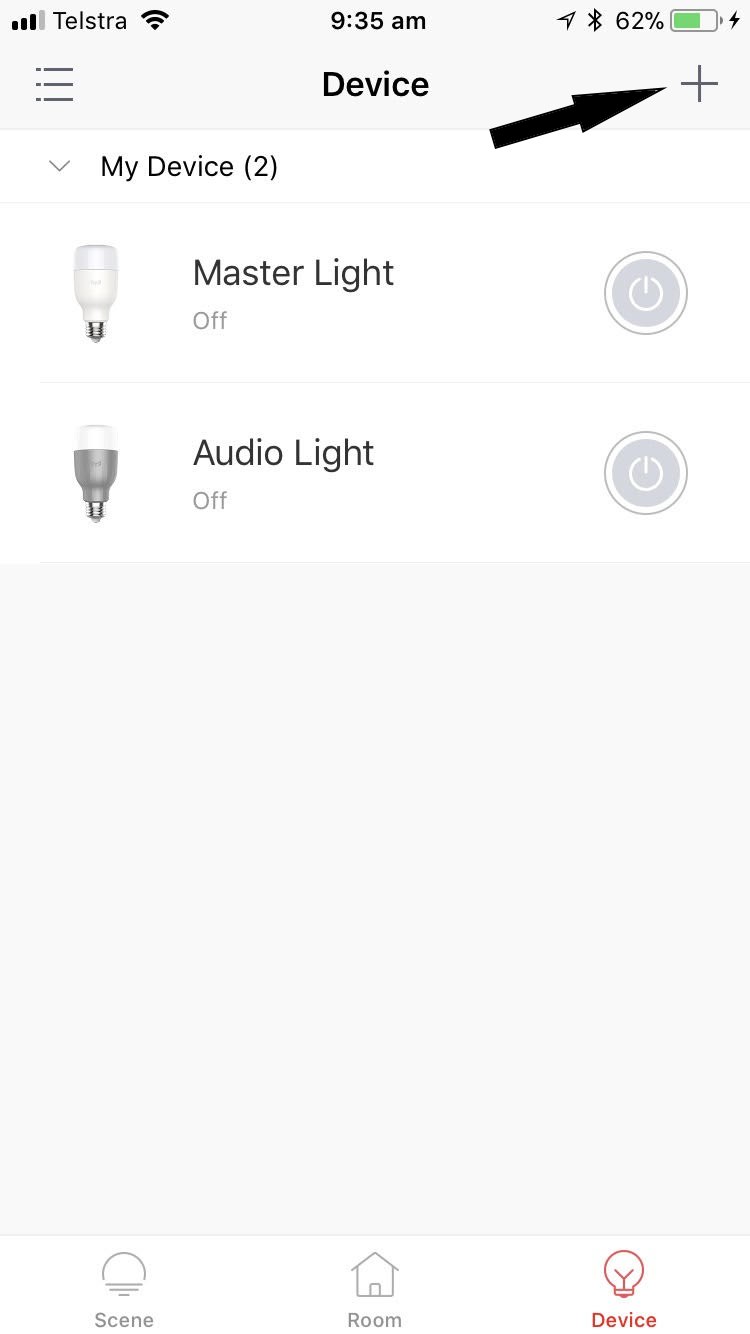
First thing you'd need is to register your YeeLight to your home network, and turn on 'LAN Control'. For this I'm using the YeeLight app (IOS or Android).
- Start the app, and click on the '+' symbol at the top right corner.
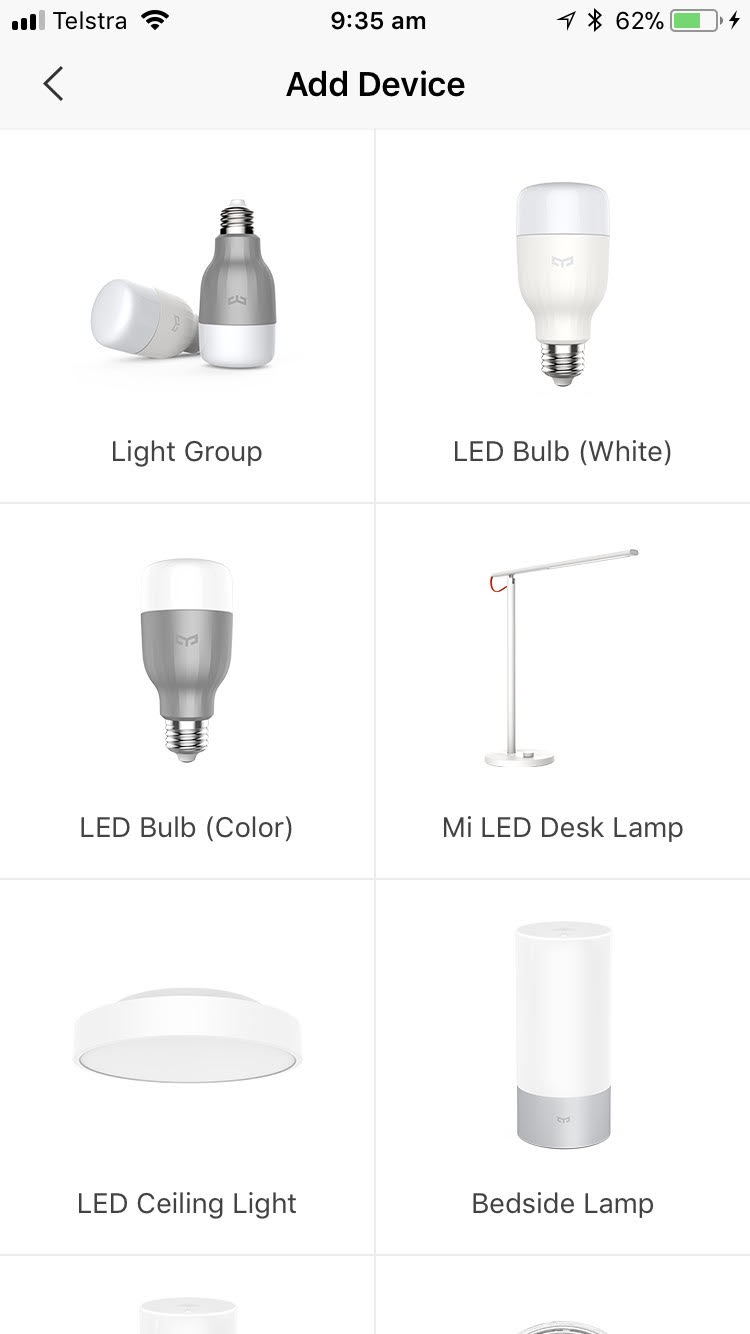
- Select a device from the list by tapping on the picture.
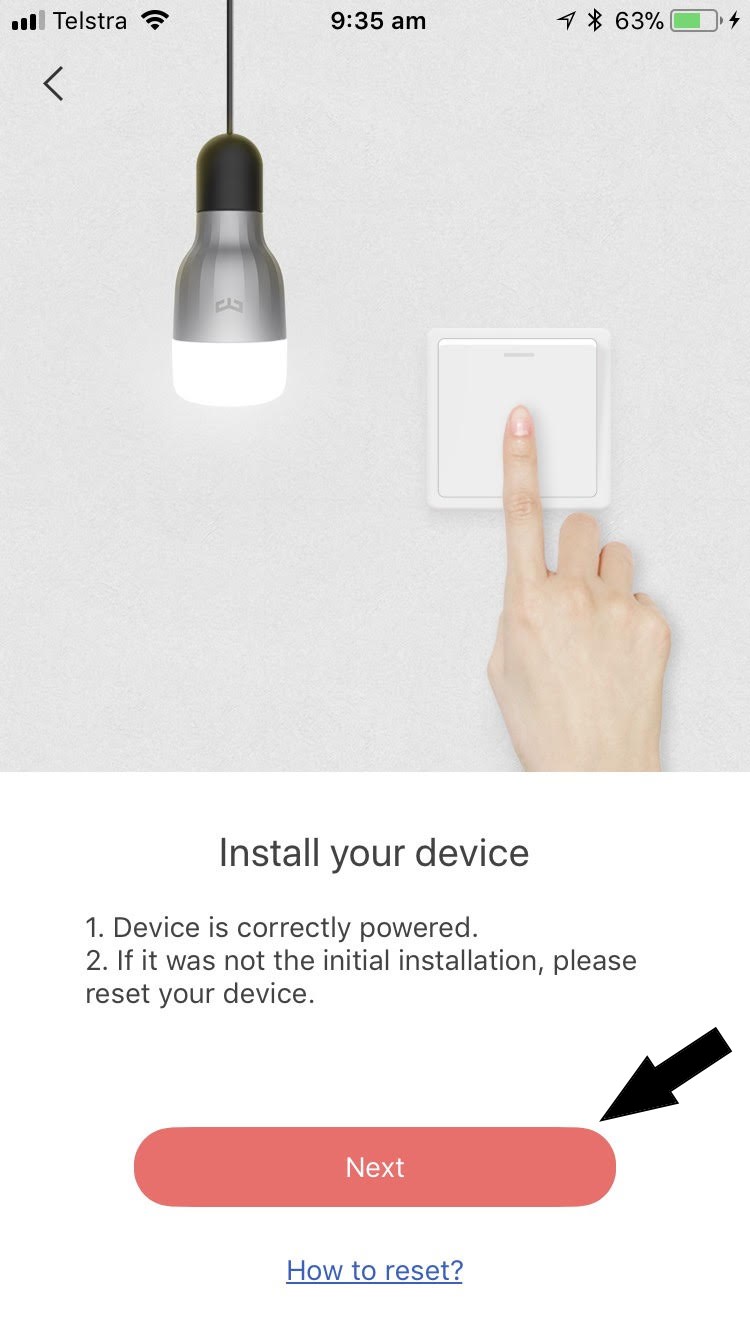
- Turn on the power, make sure the bulb is light up, and click the 'Next' button.
- Select your WiFi network from the list, enter your WiFi password, and tap 'Next'.
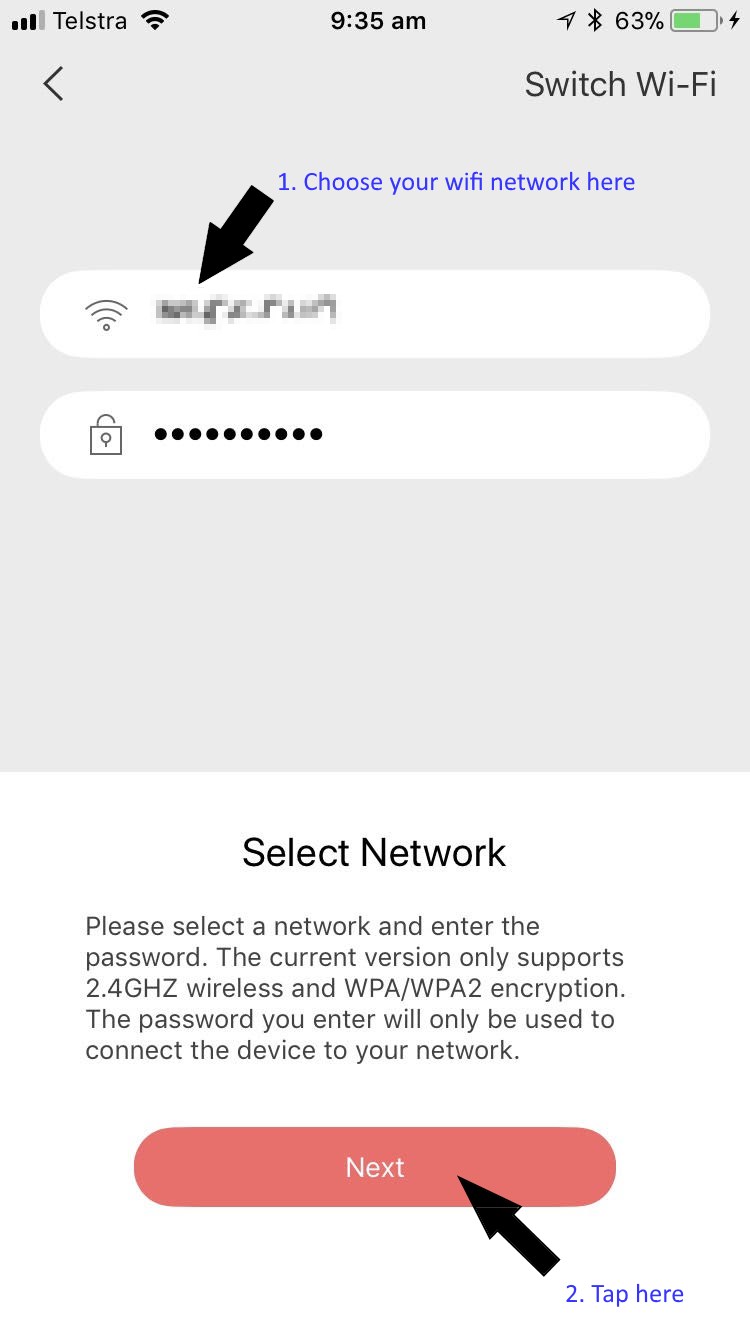
- After you click 'Next' here, YeeLight will go to your WiFi Settings.
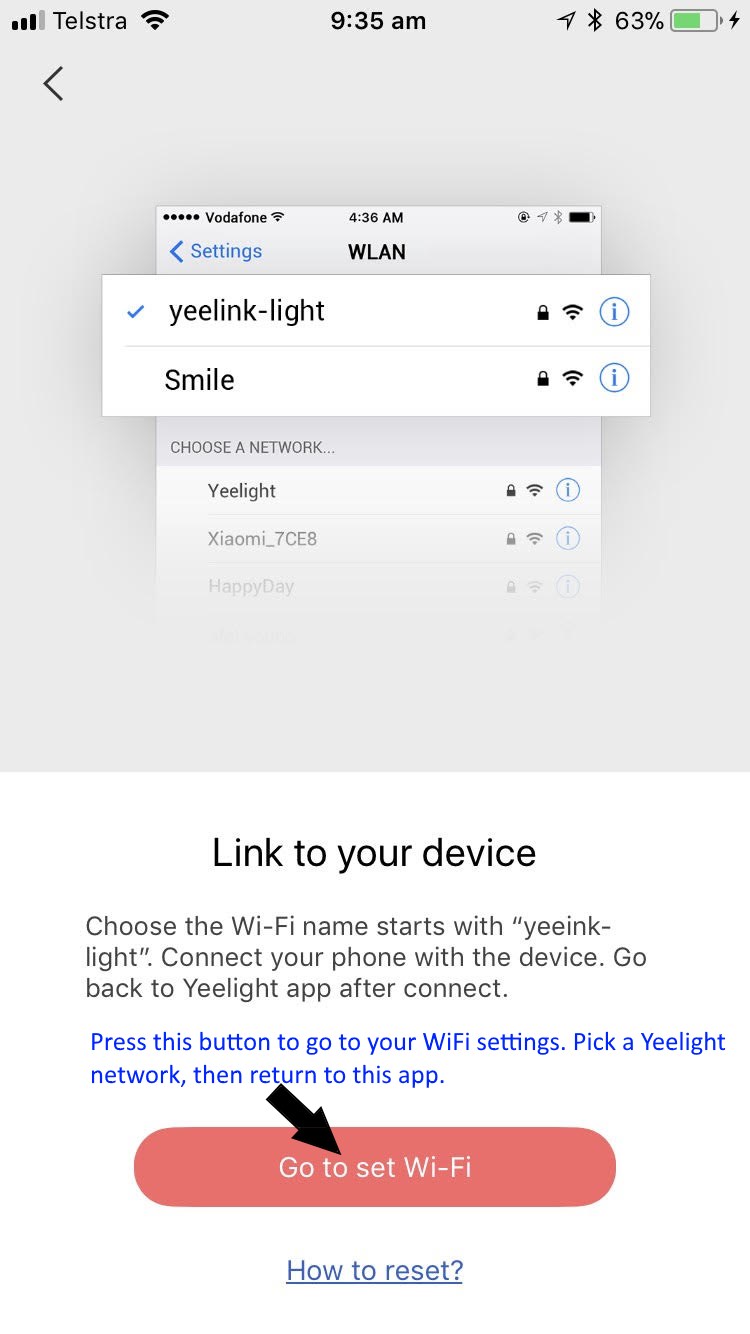
- Select a WiFi network that begins with 'Yee-Light'.
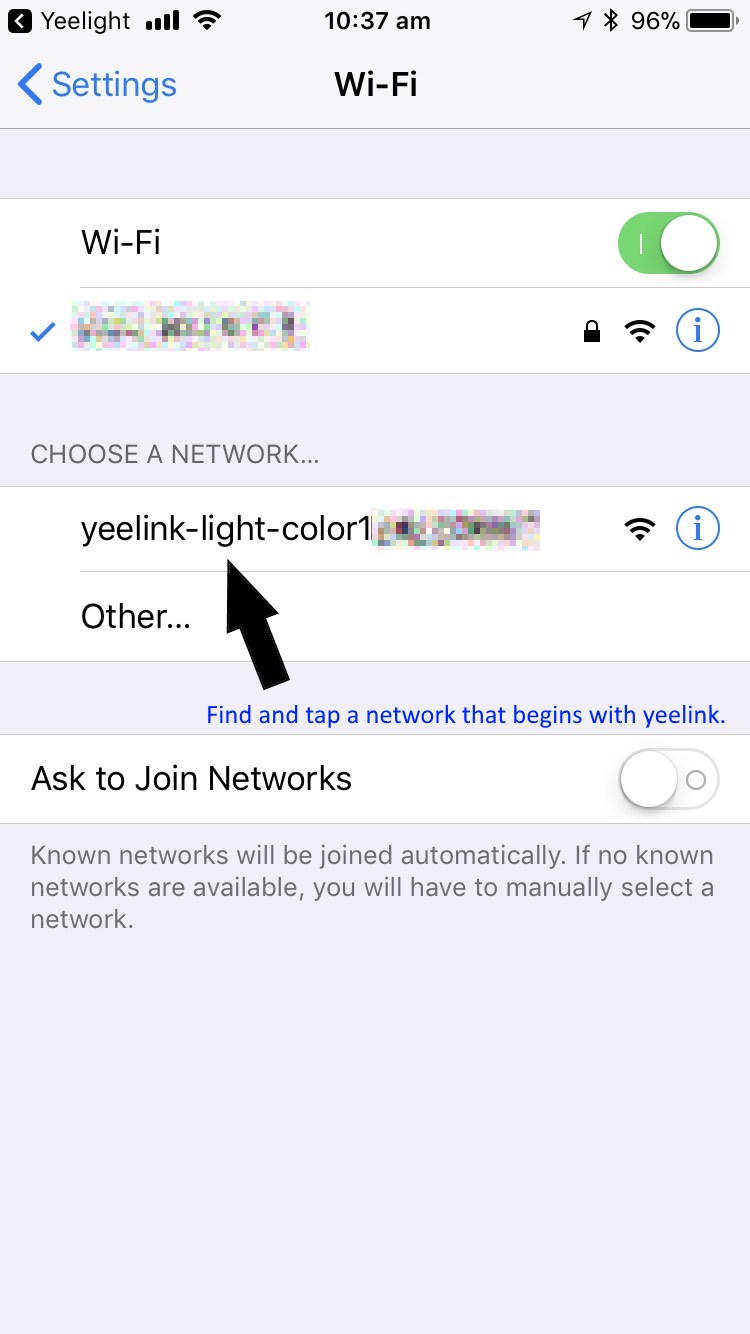
- Then return back to the YeeLight app. The app will now attempt to connect your YeeLight to your WiFi network.
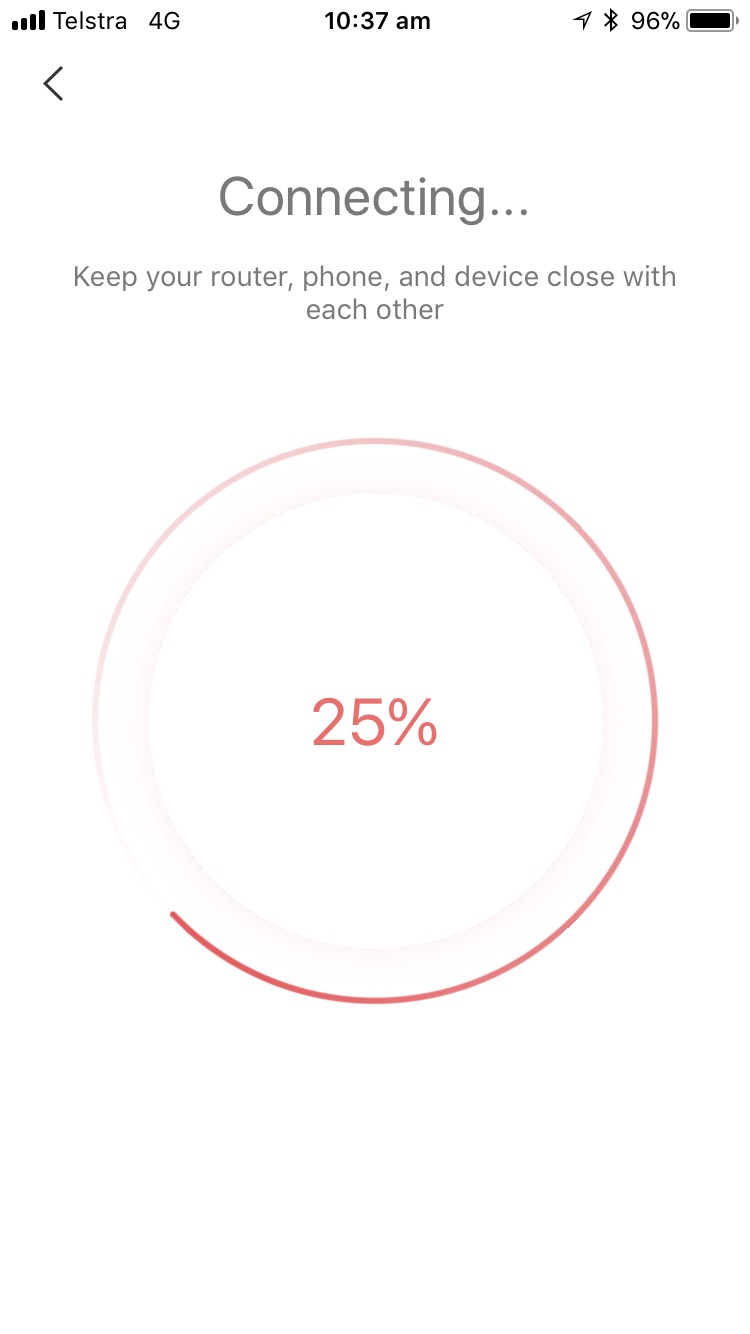
- If everything works, you'd see a new device added to your device list.
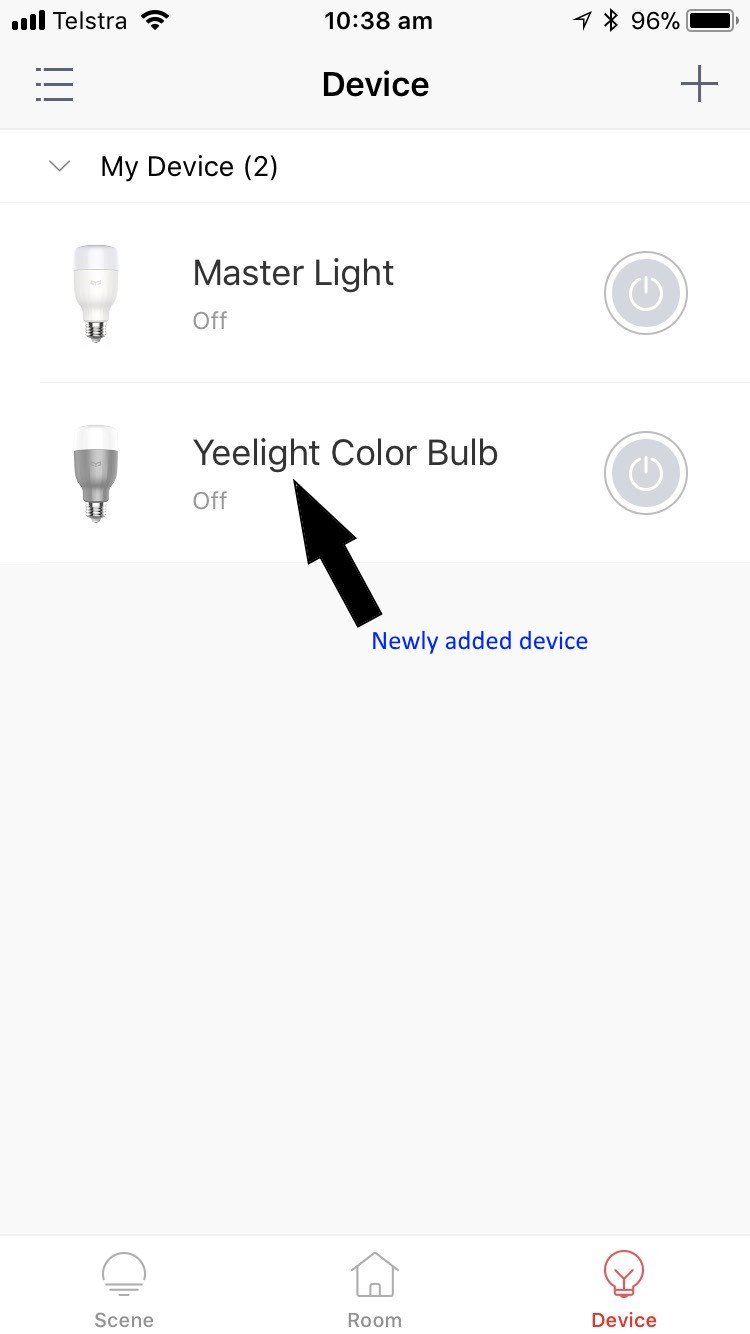
- Now you're ready to check the firmware of your YeeLight.
Upgrade To Latest Firmware
The LAN Control requires a later version. So check and update to the latest firmware for your bulb now.
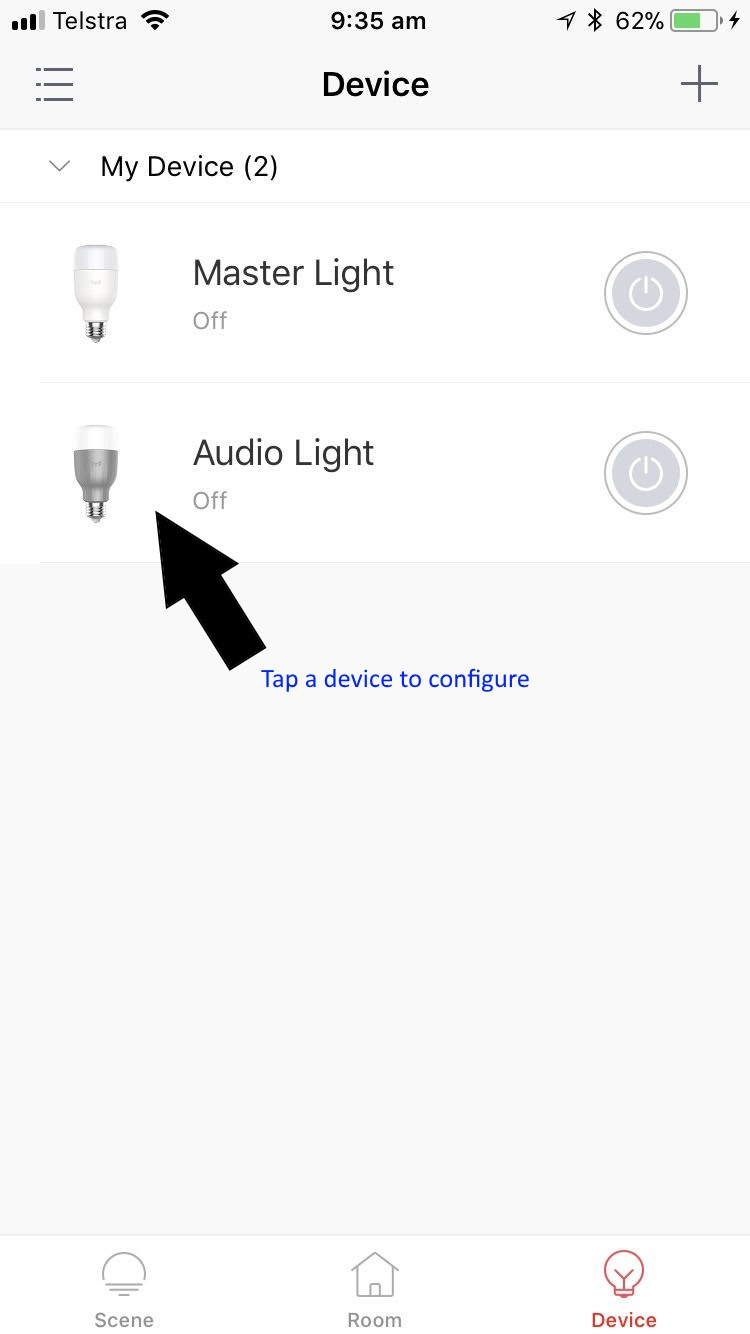
- Select a YeeLight to configure.
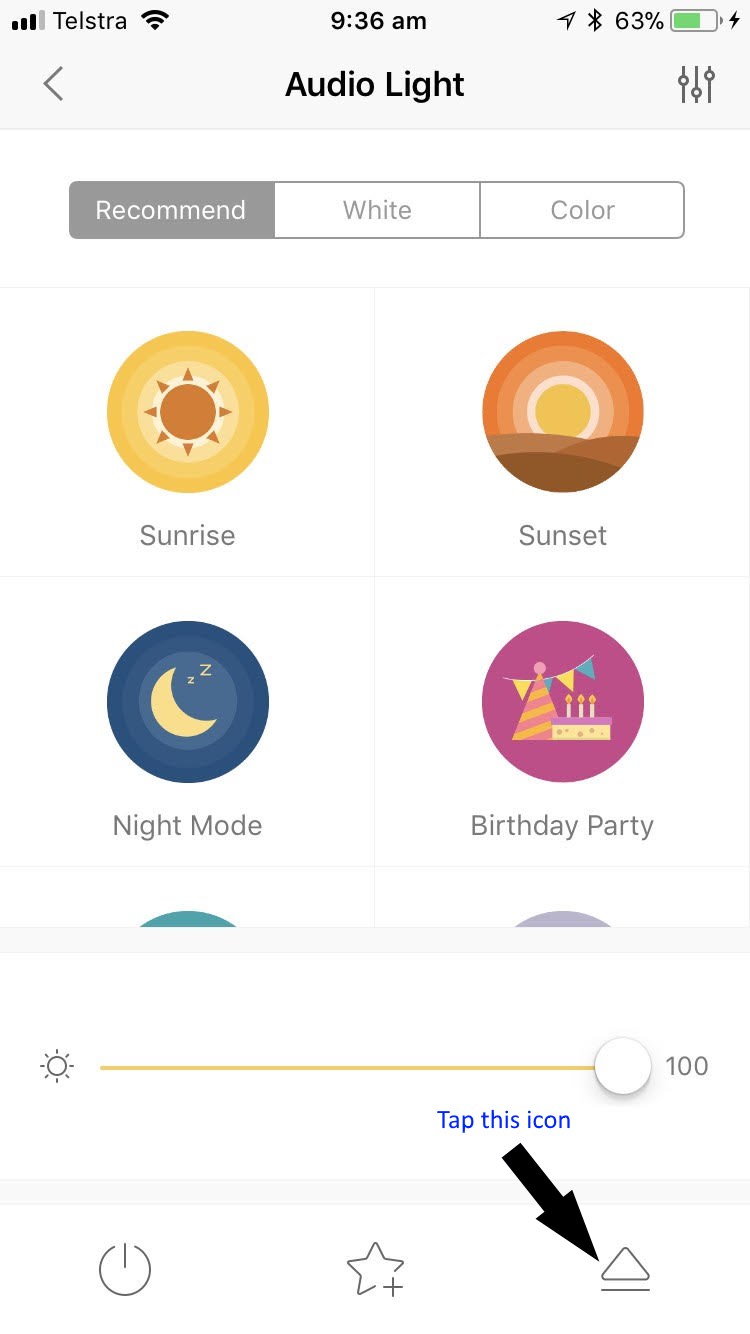
- Tap the icon on the bottom right.
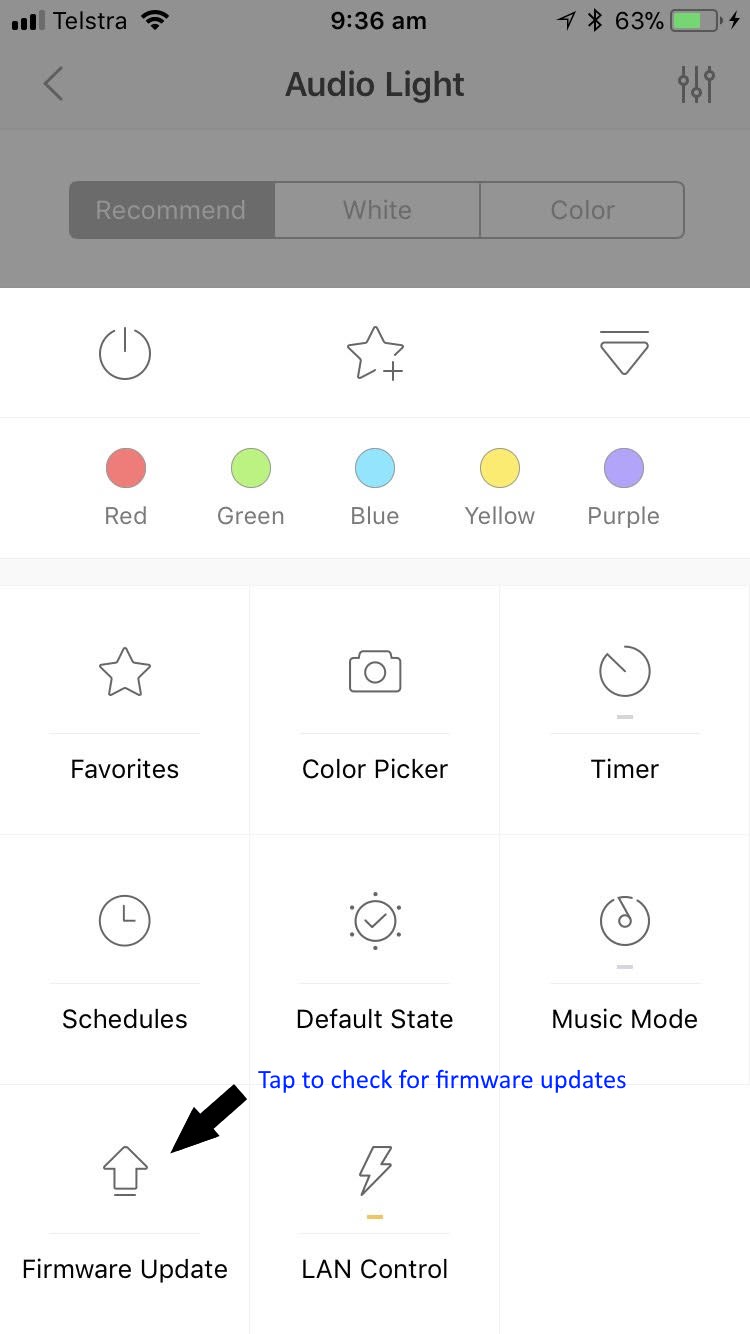
- Now tap the firmware update button.
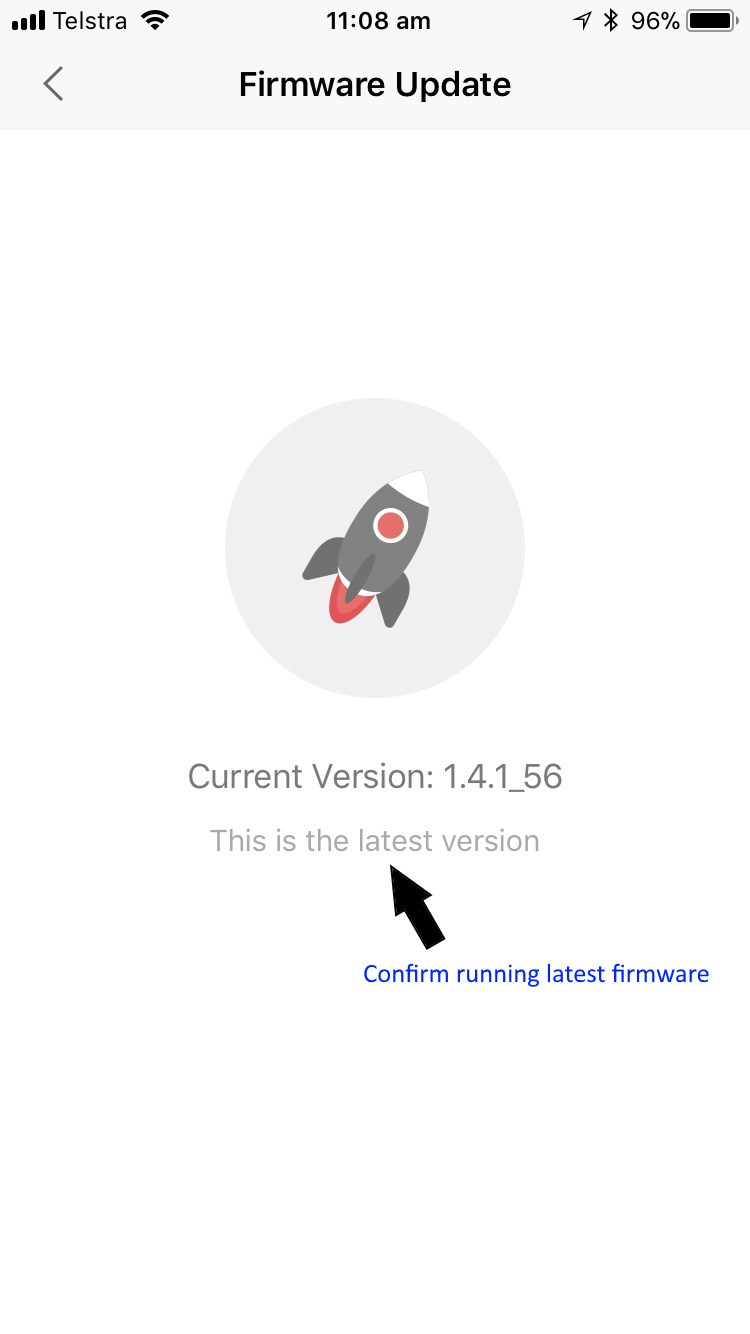
- Update to a newer firmware if available.
- Confirm you are running the latest firmware.
- Now you're ready to turn on LAN control
Activating LAN Control
LAN Control basically allows a third party (i.e. Home Assistant) to control the YeeLight.
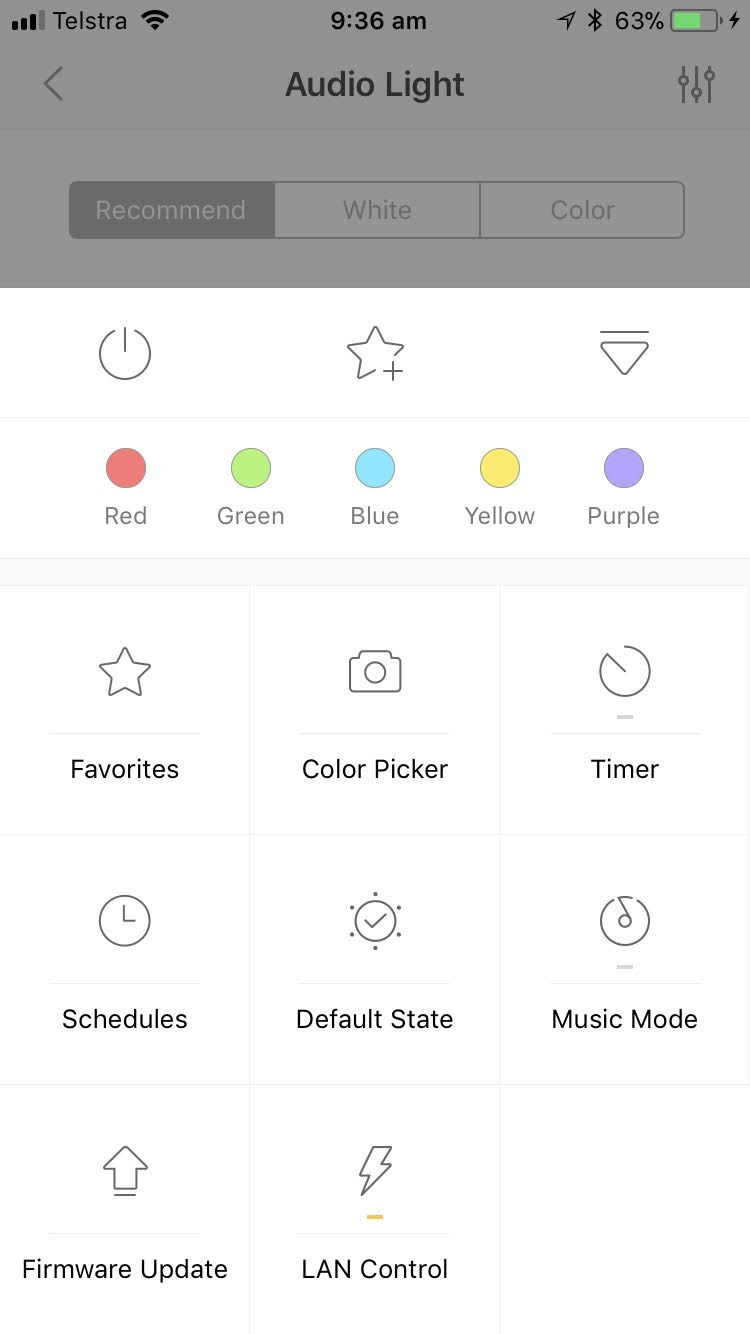
- Go to you device's configuration page. LAN Control is the last icon in the list, and you should see a grey line below the lightning bolt. Tap on the bolt to configure.

- Slide the control to the 'ON' position. Hit the 'Back' button.
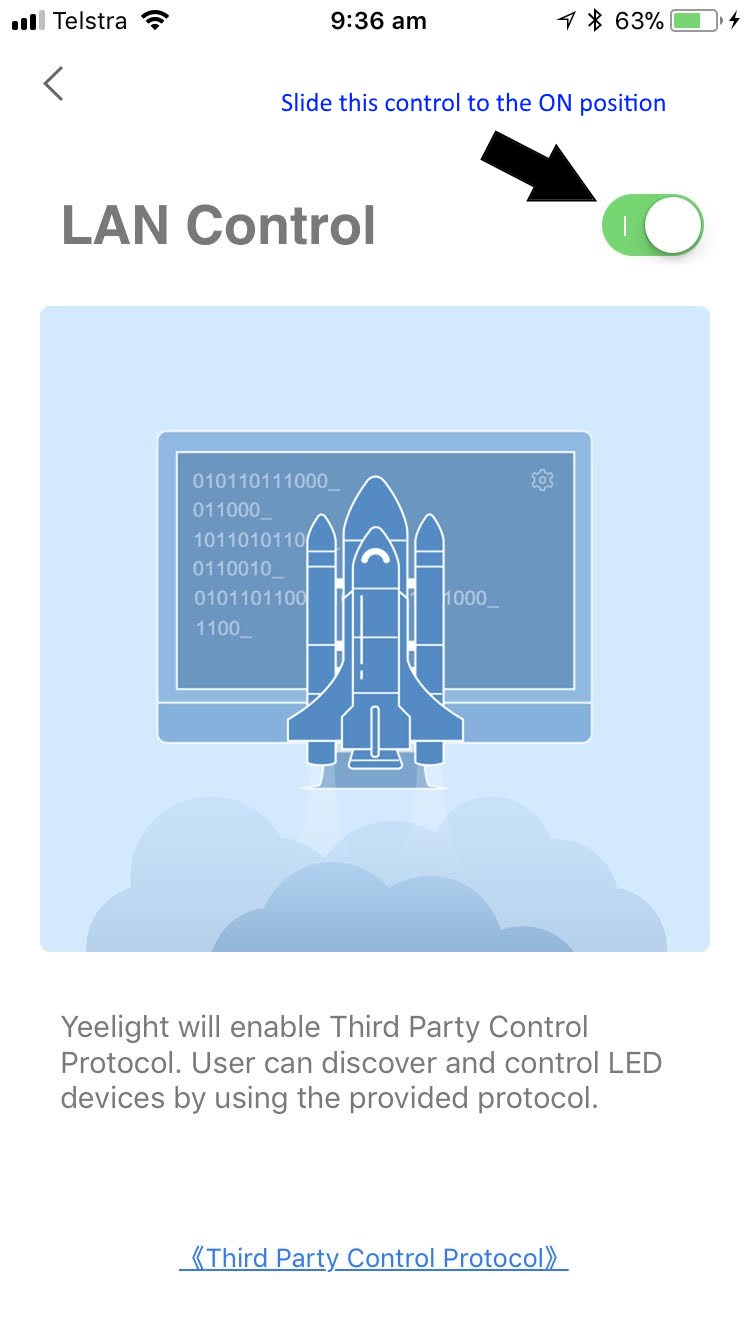
- If you did everything correctly, the line below the lightning bolt will turn into a orange strip.
- Next we add your YeeLight(s) to Home Assistant
Home Assistant Configuration
Once LAN Control is set to 'ON' the YeeLights will be auto-discovered by Home Assistant once they are joined to your WiFi network.
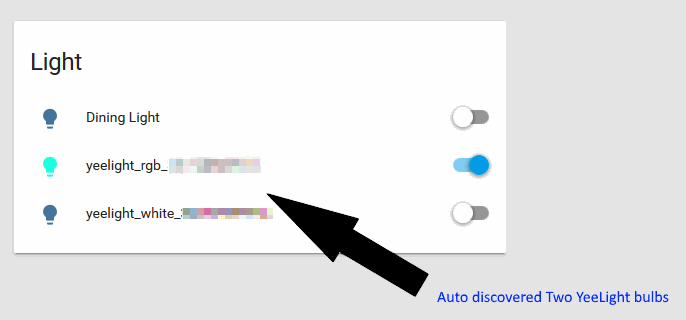
It may be wiser to rename these generic names to easier to remember names. You can change the names via 'Customization' in the 'Configuration' menu item to your left. However I find this approach tedious as you still have to use the generic names for your IFTTT applets. A better long term solution is to modify your configuration.yaml file instead.
- Go to your DHCP server (usually your modem router)
- Assign your YeeLights with a static IP address
- SSH to your Home Assistant machine, and modify the 'configuration.yaml' file
-
Add the following entry.
light:
- platform: yeelight
devices:
192.168.0.15: # Change this to your bulb's IP address
name: Music Light
transition: 1000
use_music_mode: False #(defaults to False)
save_on_change: False #(defaults to True) - Save the file and restart Home Assistant
- Now go to your Home Assistant Overview. The old generic names will now be replaced by the names you've just assigned above.
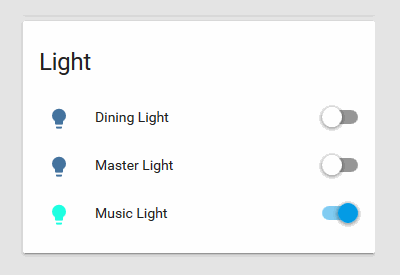
- Try and turn off your lights from HomeAssistant. The lights should turn ON/OFF accordingly.
- Voice activation anybody? Let's get your Google Home Assistant to control your YeeLights via HomeAssistant!
Basic IFTTT Commands
Now we are ready for IFTTT integration. There are only three basic commands in this domain. This table is a summary of what I'm using. Refer to the home assistant page for lights for a full listing.
| Command | Command Description | Attribute | Attribute Description |
|---|---|---|---|
| turn_on | Turns one light on or multiple lights on using groups. | entity_id |
String or list of strings that point at entity_ids of lights. Else targets all. |
rgb_color |
A list containing three integers representing the rgb color you want the light to be. Three comma separated integers that represent the color in RGB. You can find a great chart here: Hue Color Chart | ||
brightness |
Integer between 0 and 255 for how bright the color should be. | ||
| turn_off | Turns one or multiple lights off. | entity_id |
String or list of strings that point at entity_ids of lights. Else targets all. |
| toggle | Toggles the state of one or multiple lights using groups. | entity_id |
String or list of strings that point at entity_ids of lights. Else targets all. |
So here are some examples:
-
Turn on a YeeLight and set it to pure white at 100% brightness. Replace "music_light" in "light.music_light" with the name you have defined in the previous page
POST: http://your_server:8123/api/services/light/turn_on?api_password=_your_secret_password_ JSON: { “entity_id": “light.music_light", “rgb_color": [255,255,255], “brightness": “255″ } -
Turn off a YeeLight
POST: http://your_server:8123/api/services/light/turn_off?api_password=_your_secret_password_
JSON:
{
  "entity_id": "light.music_light"
}
Putting Everything Together In IFTTT
Finally, we create Web Applets in IFTTT. This tutorial already assumes you have created your IFTTT account and register both your Google Assistant and WebHooks. If you havn't done any of this please refer to the earlier blog: XiaoMi Vacuum.
- Login to IFTTT
- From your IFTTT portal, click the "My Applets" (marked in illustration below):

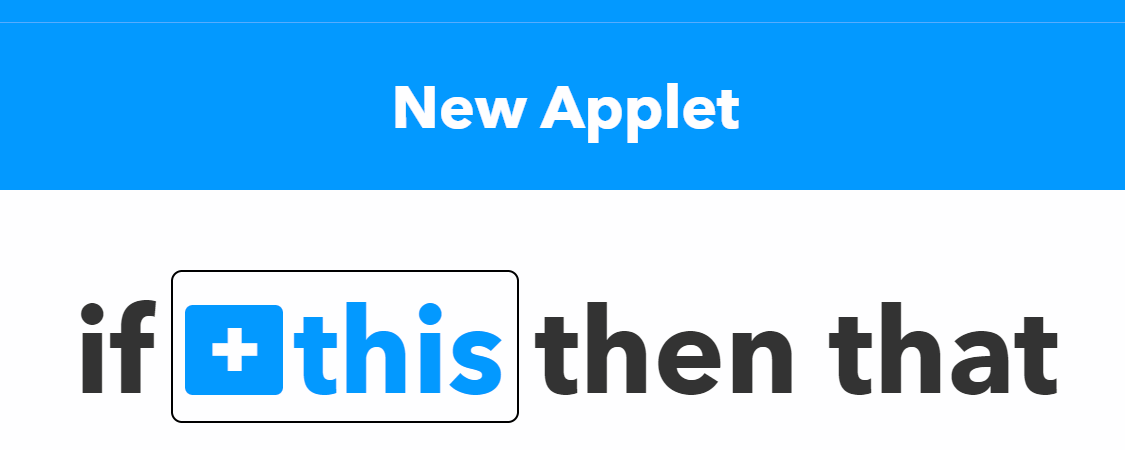
- Click the "New Applet" button:
- Click the "+ This" text:
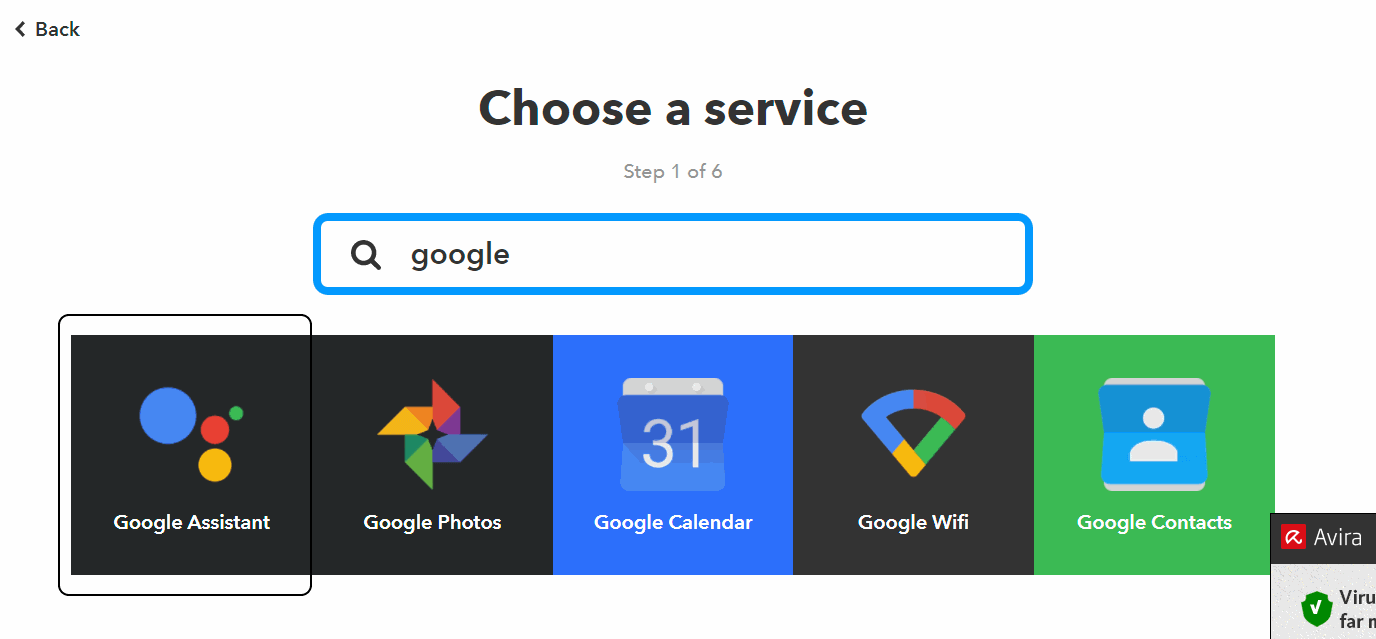
- Enter Google in the search file, and click the "Google Assistant" tile:
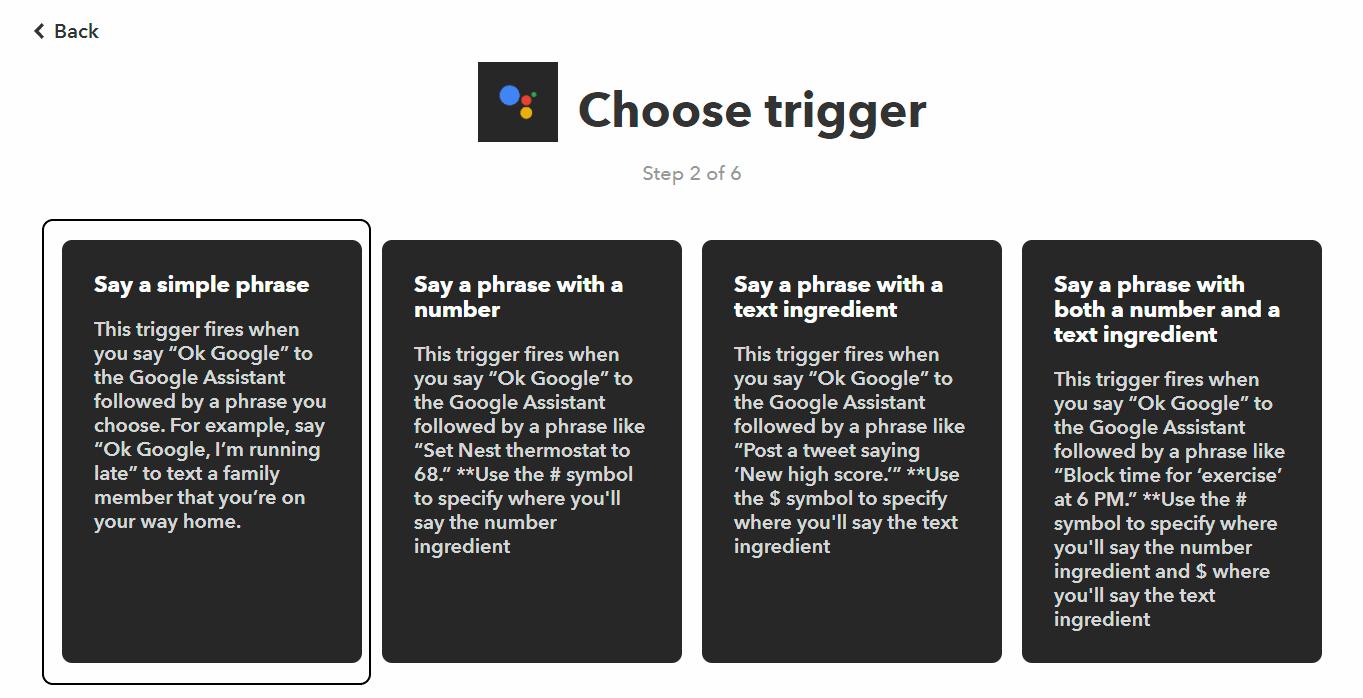
- Click the ‘Say a simple phrase’ tile:
- In the ‘What Do You Want To Say‘ field, type in the voice command you want to use. e.g. ‘Turn Lights On’.
- Type in anything you like in the 'What do you want the Assistant to say in response?' field, e.g. 'The Lights Are On'. This will make it easier for you to verify the correct Applet is being called by your voice command:
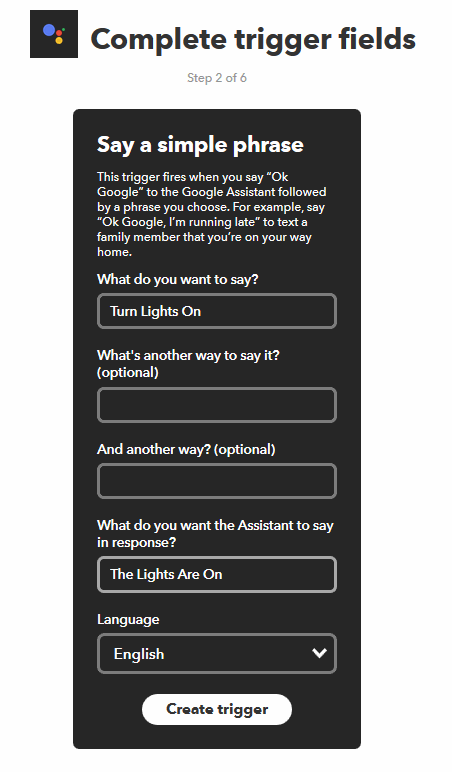
- Click 'Create Trigger' to finish the '+ This' part of IFTTT. You should return to the step 4, but with '+ This' now replaced by a Google Assistant picture:
- Now click '+ That'.
- Type 'Webhooks' into the search field, and click the 'Webhooks' tile:
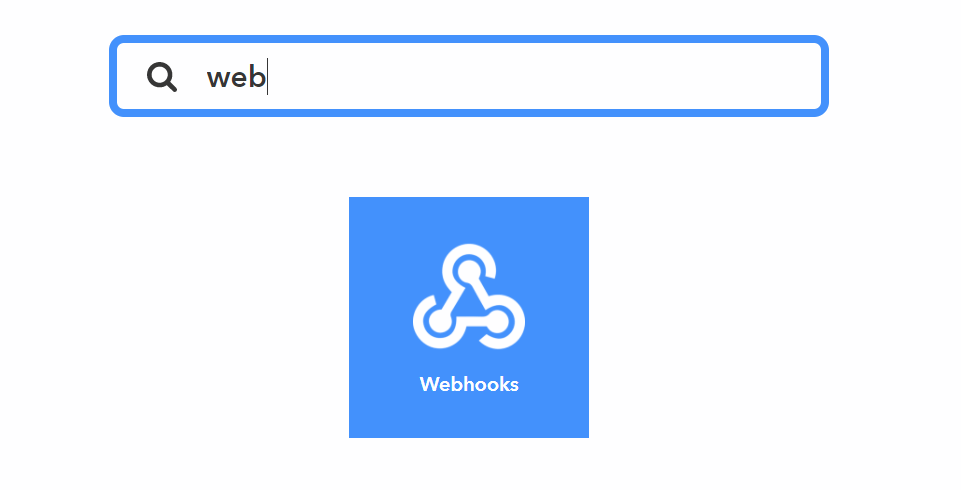
- Click the tile that says ‘Make a web request’.
- Now modify the fields accordingly. Refer to page 7 of this tutorial for some basic commands:

- Click 'Create Action' to complete.
- Click 'Finish'.
- Build more Applets as you need to complete your voice commands.
And that's it. You have now successfully linked everything up to Home Assistant, and you can control your YeeLight(s) with simple commands to the Google Assistant, bypassing both MiHome or Google Home. The advantage of this will be apparent in a future article.
Hope you enjoy this quick YeeLight tutorial. Please leave a comment below if you have any questions or problems.
Related News

Linking Google Assistant To Home Assistant 0.80 and above
Every new Home Assistant release brings breaking changes.
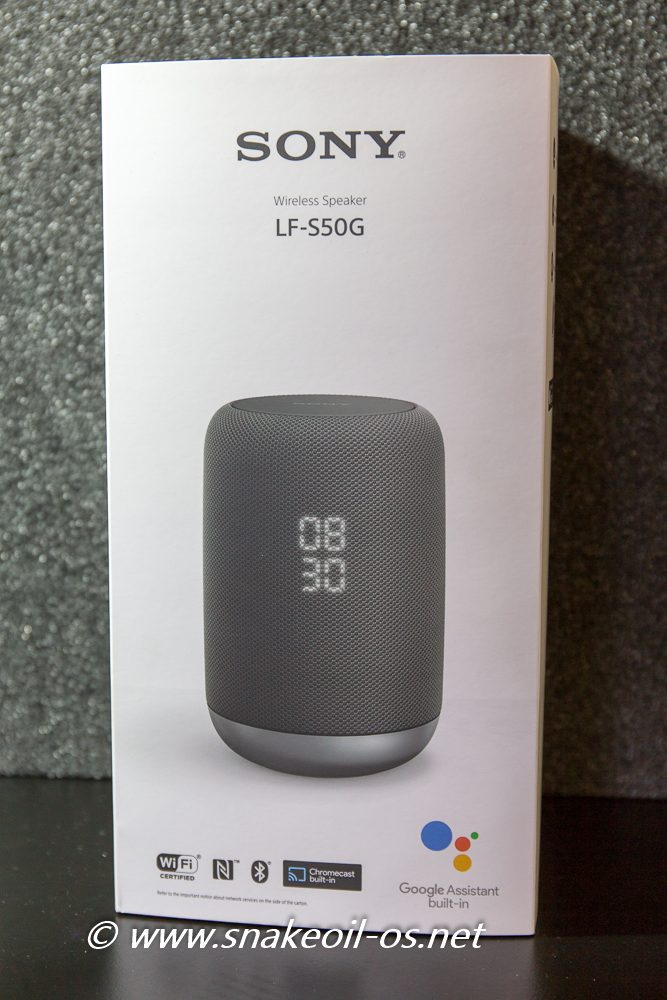
Sony LS-F50G Google Assistant
My company held a lucky draw recently and I am lucky enough to win this, a Sony LS-F50G Goog
Link Your Home Assistant To Google Assistant Home Control
Article removed as content is meant for older version of HASS and will no longer work in 0.8 and
Add new comment